Arduino - Serveur Web à plusieurs pages
Dans ce tutoriel, nous découvrirons comment transformer un Arduino en serveur Web capable de gérer plusieurs pages en même temps, telles que index.html, temperature.html, led.html, error_404.html, et error_405.html... Le contenu de chaque page, y compris HTML, CSS et JavaScript, sera stocké dans des fichiers différents dans l'IDE Arduino. En accédant au serveur Web Arduino depuis un navigateur Web sur votre PC ou votre smartphone, vous pourrez visualiser et contrôler les capteurs et actionneurs connectés à l'Arduino via le Web. De plus, le serveur Web sera conçu pour accepter des liens avec ou sans l’extension .html.
En suivant ce tutoriel, vous pourrez transformer votre Arduino en un serveur web avec quelques fonctionnalités intéressantes :
- Plusieurs pages web sont actives simultanément.
- Le contenu HTML (y compris HTML, CSS et JavaScript) de chaque page est conservé séparément dans son propre fichier.
- Le contenu HTML peut être mis à jour dynamiquement avec des valeurs en temps réel provenant des capteurs, rendant les pages web dynamiques et réactives.
- Vous pouvez accéder aux pages avec ou sans l'extension .html. Par exemple, vous pouvez utiliser des liens comme http://192.168.0.2/led ou http://192.168.0.2/led.html pour atteindre la même page de contrôle LED.
- Le serveur Web gère les codes d'erreur HTTP tels que 404 Not Found et 405 Method Not Allowed.
Cela peut sembler compliqué, mais ne vous inquiétez pas ! Ce tutoriel fournit des instructions étape par étape, et le code est conçu pour être accessible aux débutants, afin que vous puissiez facilement comprendre et créer votre propre serveur Web Arduino.
Préparation du matériel
Ou vous pouvez acheter les kits suivants:
| 1 | × | Kit de Démarrage DIYables STEM V4 IoT (Arduino inclus) | |
| 1 | × | Kit de Capteurs DIYables (18 capteurs/écrans) |
À propos de l'Arduino Uno R4 et du serveur Web
Si vous n'êtes pas familier avec l'Arduino Uno R4 et le serveur Web (y compris le brochage, le fonctionnement et la programmation), vous pouvez en savoir plus sur eux grâce aux tutoriels suivants :
Comment fonctionne un serveur Web sur Arduino
Lorsqu'un navigateur web envoie une requête HTTP à la carte Arduino, l'Arduino doit être programmé pour effectuer les tâches suivantes :
- Créer un serveur Web capable d'écouter les requêtes HTTP provenant du navigateur Web.
- Lire la première ligne de l'en-tête de la requête HTTP lorsqu'il reçoit une requête HTTP.
- Acheminer les requêtes en fonction de la première ligne de la requête HTTP afin de déterminer quelles pages Web l'Arduino doit renvoyer.
- (Optionnel) Analyser l'en-tête de la requête HTTP pour identifier les commandes de contrôle envoyées par l'utilisateur.
- (Optionnel) Contrôler les dispositifs connectés à l'Arduino en fonction des commandes de contrôle reçues.
- Envoyer une réponse HTTP au navigateur Web, qui comprend:
- Un en-tête de réponse HTTP.
- Le corps de la réponse HTTP, qui contient du contenu HTML et (le cas échéant) des données des capteurs ou l'état des périphériques.
En réalisant ces tâches, l'Arduino peut gérer efficacement les requêtes HTTP et fournir des réponses appropriées au navigateur Web, ce qui permet un contrôle et une interaction basés sur le Web avec les périphériques connectés à l'Arduino.
La fonction de routage est la tâche la plus importante et elle sera expliquée en détail. Les autres parties sont couvertes dans le tutoriel Arduino - Serveur Web.. Une fois que vous aurez compris l'algorithme de routage, nous passerons à voir le code complet d'un serveur Web avec plusieurs pages.
Serveur Web Arduino - Algorithme de routage
Avant d'écrire le code pour la fonction de routage, vous devriez créer une liste de pages web et des méthodes HTTP correspondantes qui seront disponibles sur Arduino. Dans ce tutoriel, nous ne prendrons en charge que la méthode GET. Cependant, vous pouvez facilement l'étendre pour inclure d'autres méthodes HTTP si nécessaire. Voici une liste d'exemples :
- GET page d'accueil
- GET page de température
- GET page de porte
- GET page LED
Après cela, vous devez créer une liste des en-têtes de requête HTTP de première ligne correspondant à la liste de pages :
- GET page d'accueil :
- GET /
- GET /index.html
- GET page de température :
- GET /temperature.html
- GET page de porte :
- GET /door
- GET page LED :
- GET /led.html
En résumé, nous avons la liste suivante :
Code Arduino - Serveur Web à plusieurs pages
Ci-dessous se trouve le code Arduino complet qui crée un serveur Web avec plusieurs pages. Pour rester simple, le contenu HTML de chaque page est très simple et intégré directement dans le code Arduino. Dans la prochaine partie, nous apprendrons comment séparer le contenu HTML de chaque page en fichiers distincts, ce qui rend le code plus organisé et plus facile à gérer.
Étapes rapides
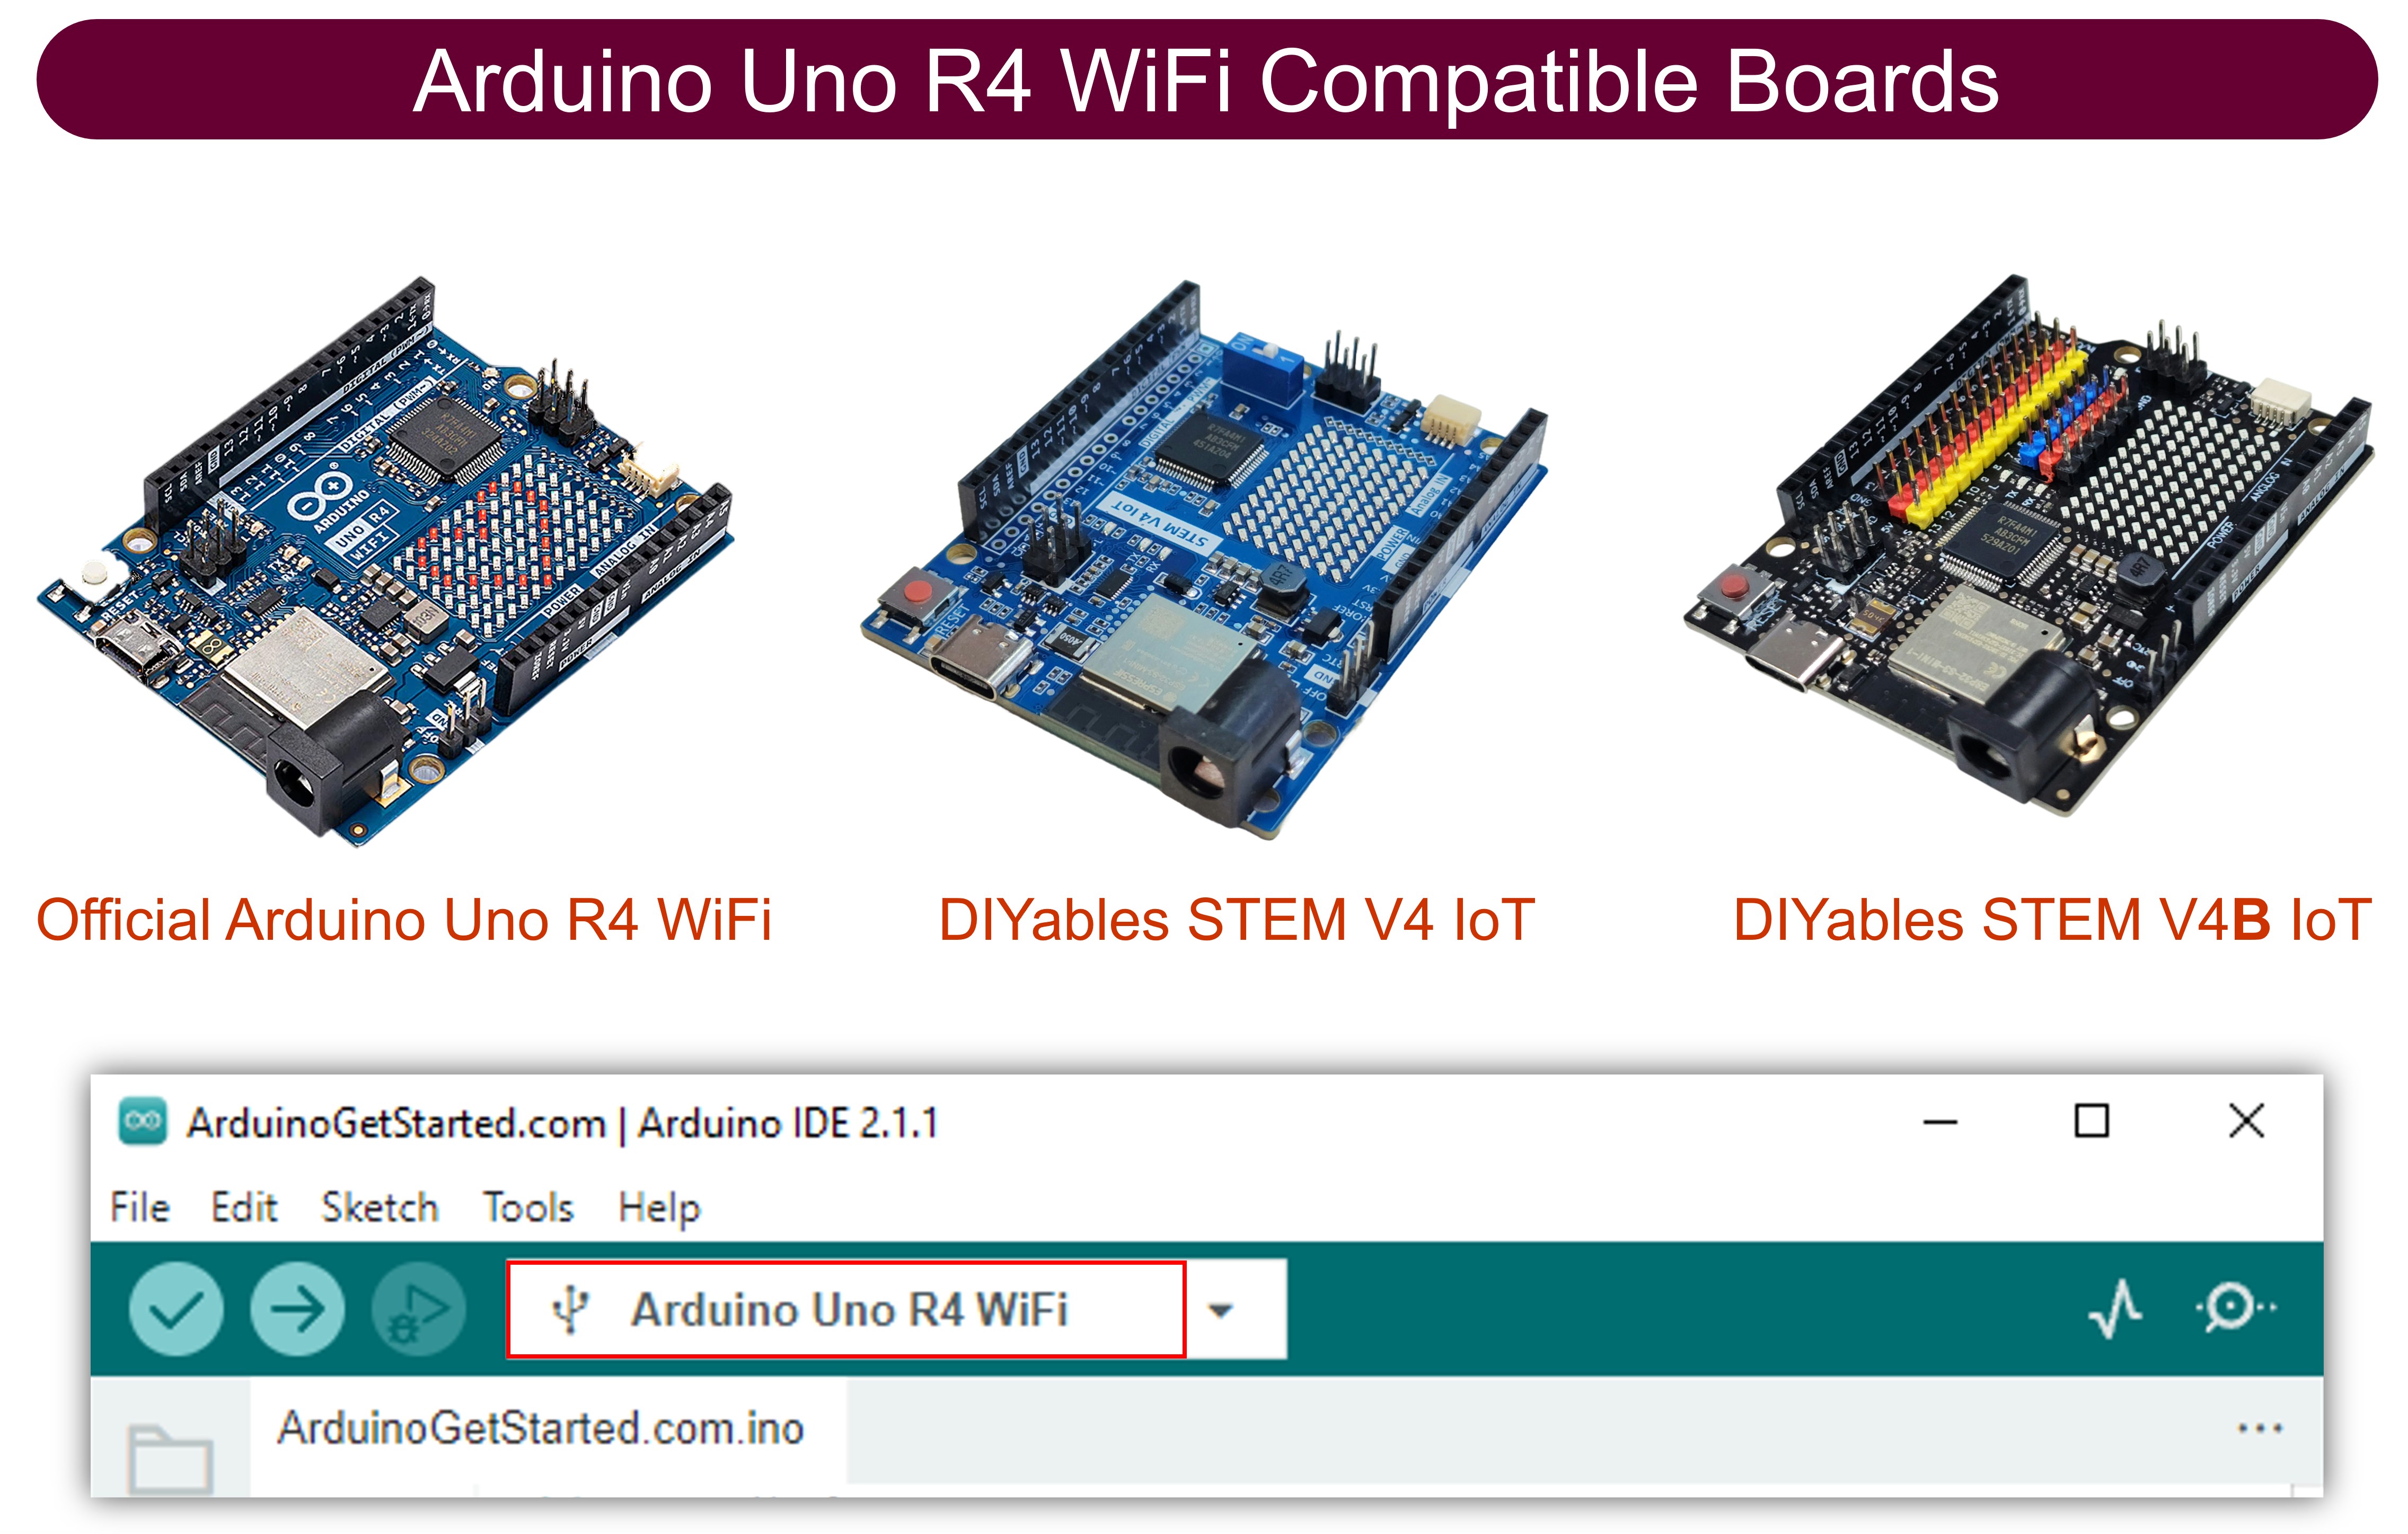
- Si c'est la première fois que vous utilisez Arduino Uno R4, consultez Comment démarrer avec Arduino Uno R4..
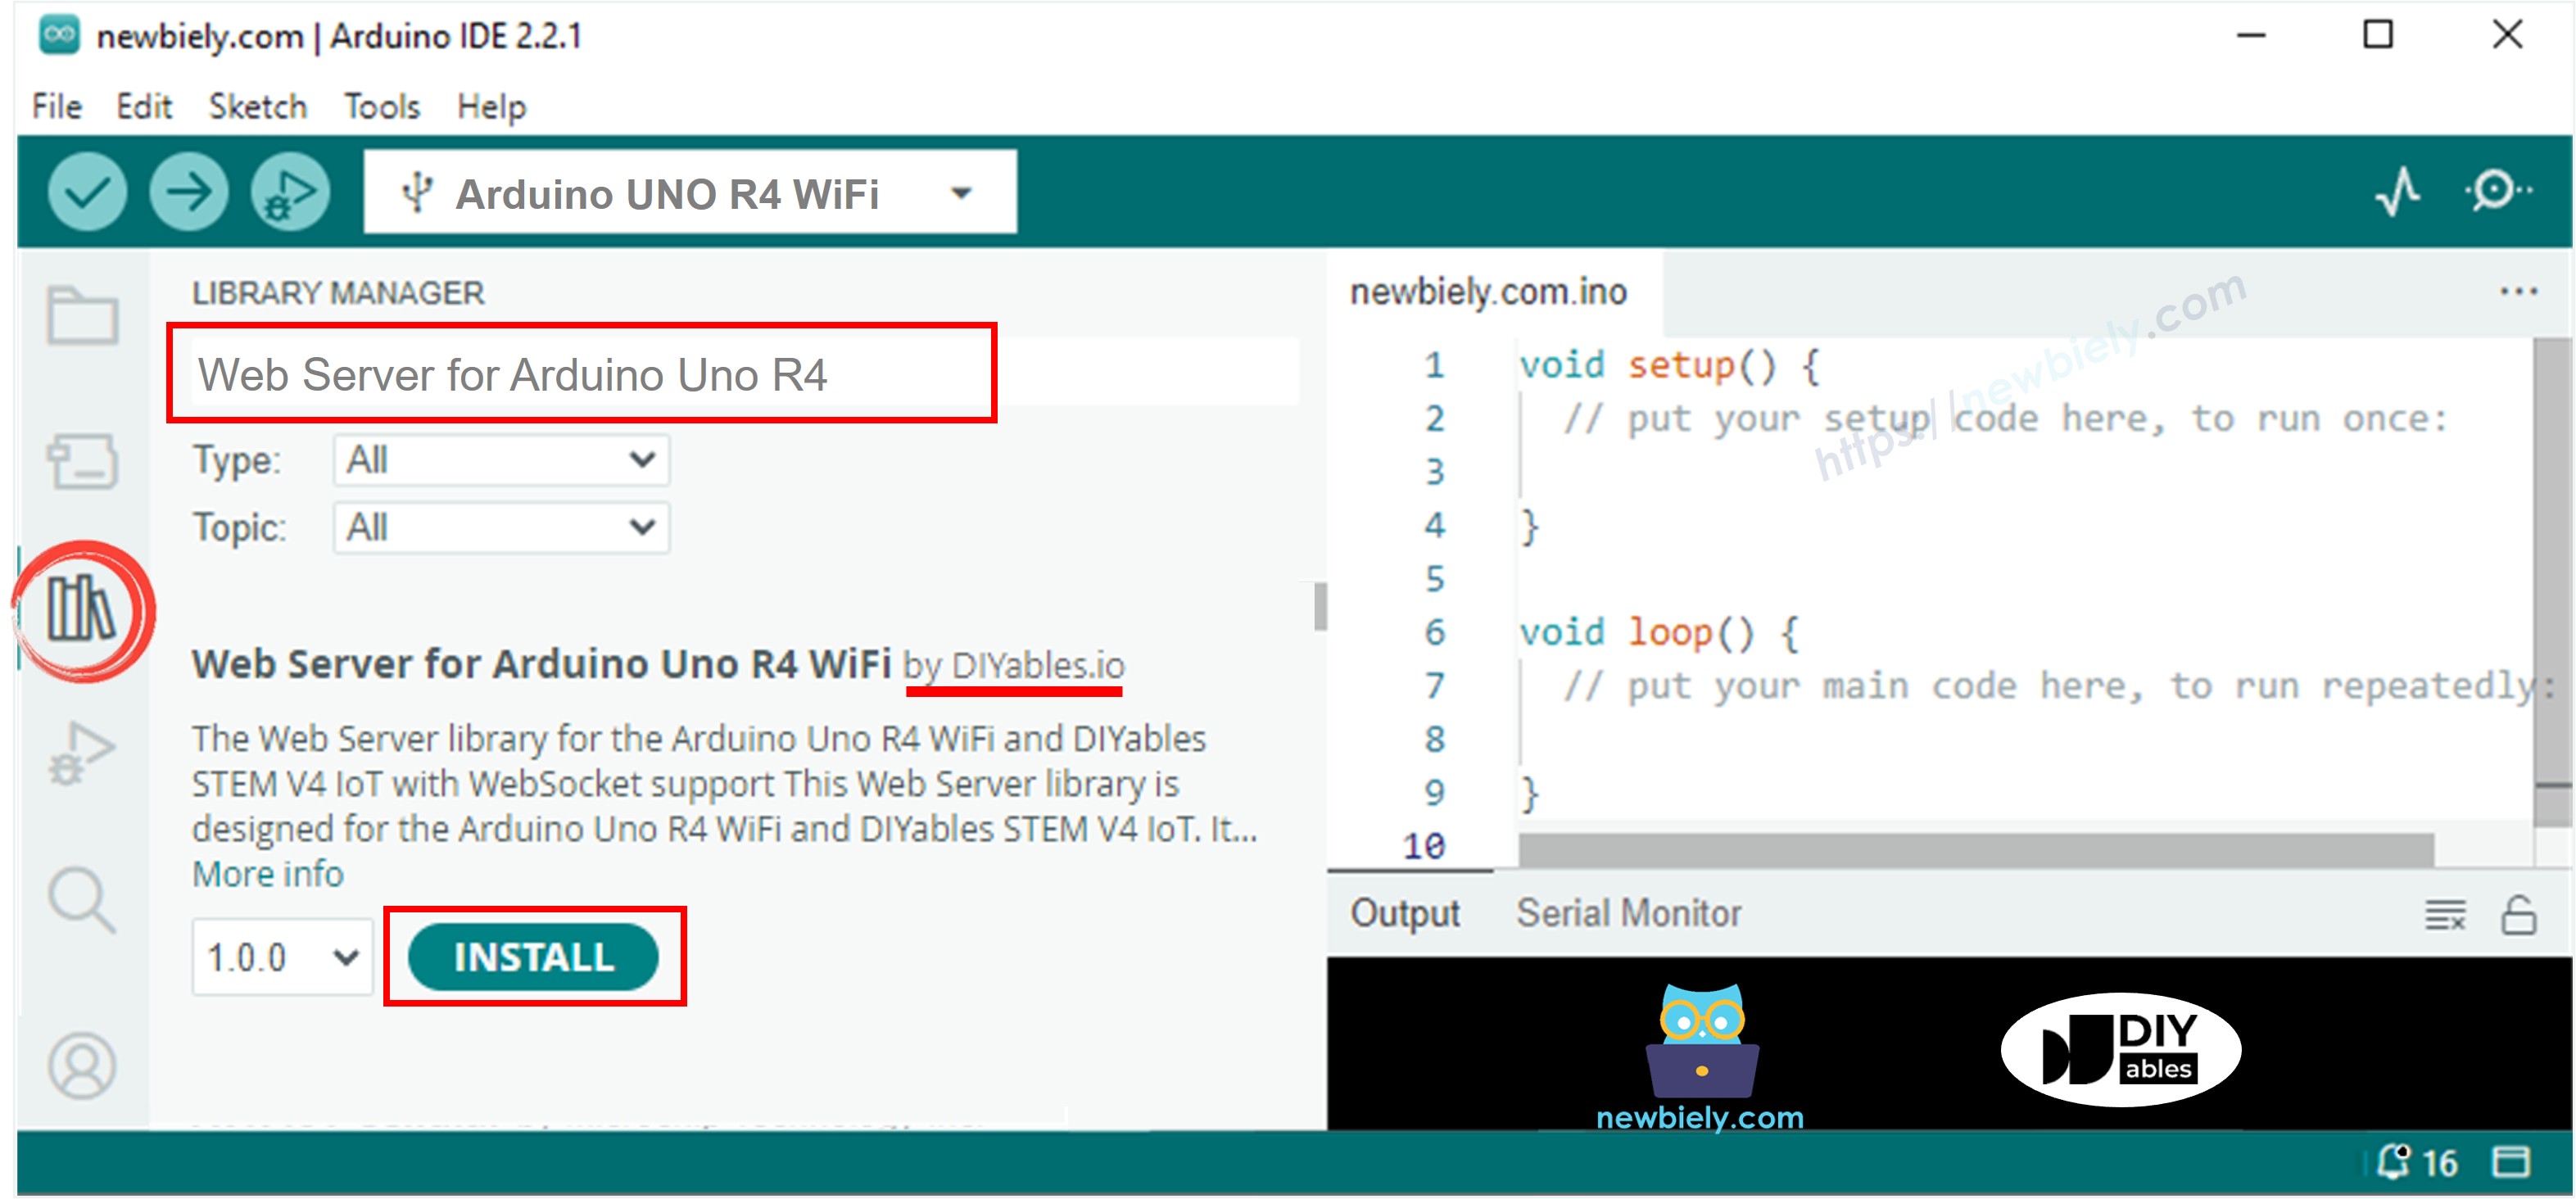
- Ouvrez le Gestionnaire de bibliothèque en cliquant sur l'icône Gestionnaire de bibliothèque sur le côté gauche de l'IDE Arduino.
- Recherchez Serveur Web pour Arduino Uno R4 WiFi et localisez la bibliothèque Serveur Web créée par DIYables.
- Cliquez sur le bouton Install pour ajouter la bibliothèque Serveur Web.
- Copiez le code ci-dessus et ouvrez-le avec l'IDE Arduino
- Modifiez les informations Wi-Fi (SSID et mot de passe) dans le code pour les remplacer par les vôtres
- Cliquez sur le bouton Upload dans l'IDE Arduino pour téléverser le code sur l'Arduino
- Ouvrez le moniteur série
- Consultez le résultat dans le moniteur série
- Vous verrez une adresse IP dans le moniteur série, par exemple : 192.168.0.2
- Saisissez la liste suivante une par une dans la barre d'adresse d'un navigateur Web sur votre smartphone ou votre PC.
- Veuillez noter que vous devez remplacer le 192.168.0.2 par l'adresse IP que vous avez obtenue dans le moniteur série.
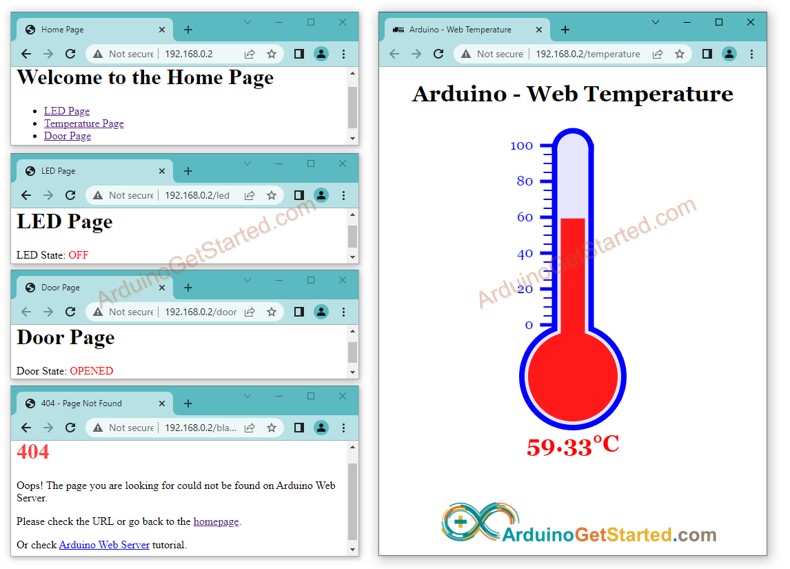
- Vous verrez les pages suivantes : page d'accueil, page LED, page porte, page de température et page introuvable.
- Vous pouvez également vérifier la sortie dans le moniteur série.
Le code précédent contient un contenu HTML très simple pour chaque page. Mais si nous voulons créer une interface élégante avec beaucoup de HTML, le code peut devenir long et désordonné. Pour le simplifier, nous allons apprendre à séparer le HTML du code Arduino. Cela nous permet de garder le HTML dans des fichiers séparés, ce qui facilite la gestion et le travail avec.
Code Arduino - Serveur Web complet à plusieurs pages
- Ouvrez l'IDE Arduino.
- Créez un nouveau sketch et donnez-lui un nom, par exemple, ArduinoWebServer.ino.
- Copiez le code fourni et collez-le dans ce fichier.
- Modifiez les informations WiFi (SSID et mot de passe) dans le code pour les remplacer par les vôtres
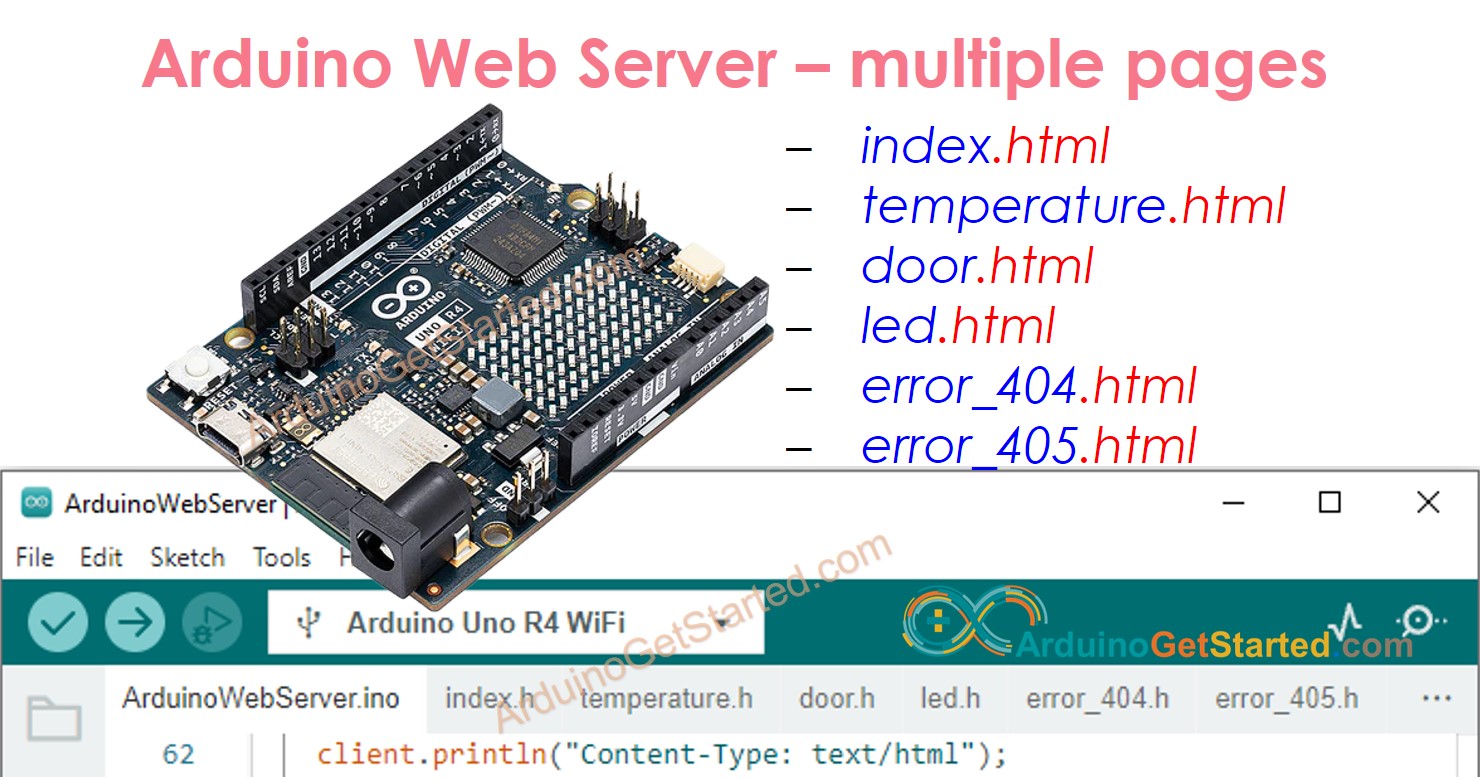
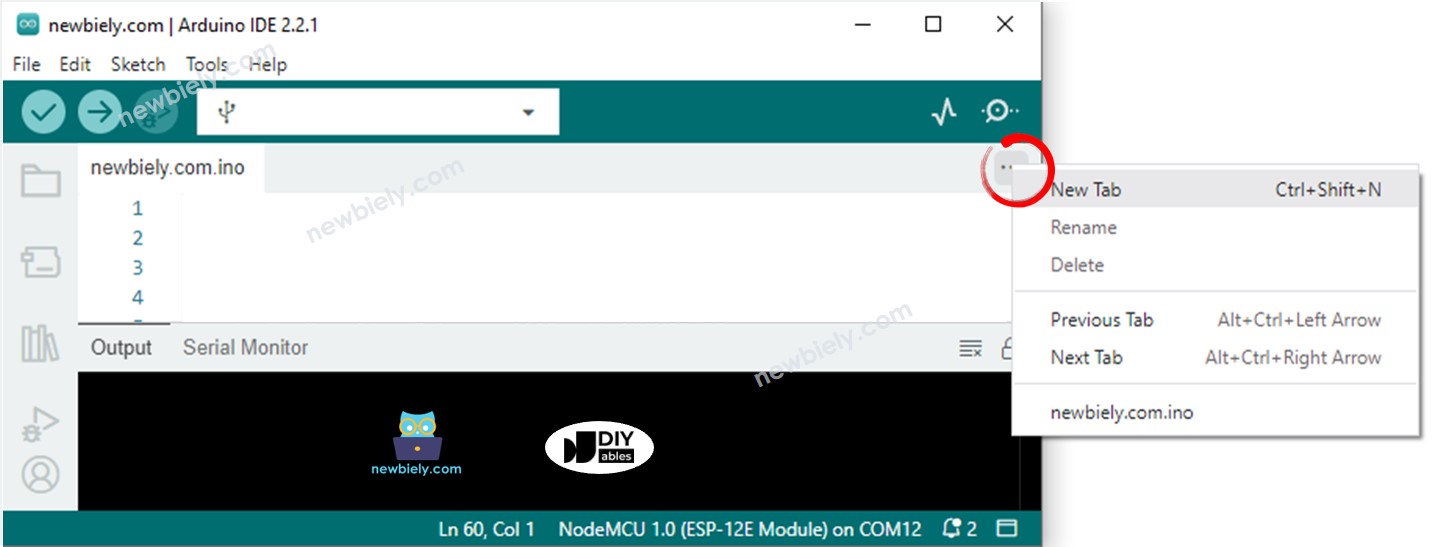
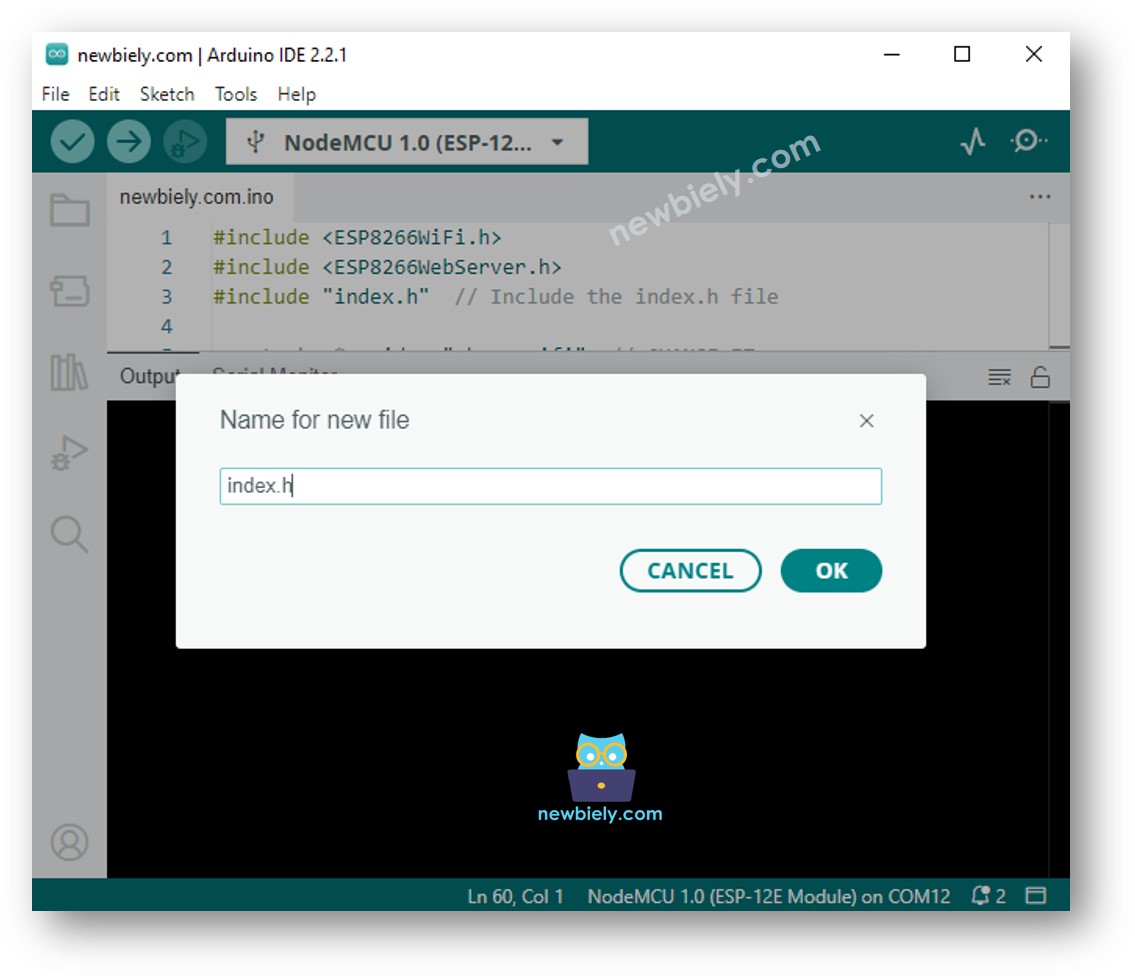
- Créez le fichier index.h dans l'IDE Arduino en procédant comme suit :
- Soit cliquez sur le bouton juste en dessous de l'icône du moniteur série et choisissez Nouvel onglet, ou utilisez les touches Ctrl+Shift+N.
- Donnez le nom du fichier index.h et cliquez sur le bouton OK
- Copiez le code ci-dessous et collez-le dans le fichier index.h.
- De même, créez le fichier temperature.h dans l'IDE Arduino avec le contenu suivant.
- De même, créez le fichier door.h dans l'IDE Arduino avec le contenu suivant.
- De même, créez le fichier led.h dans l'IDE Arduino avec le contenu suivant.
- De même, créez le fichier error_404.h dans l'IDE Arduino avec le contenu suivant.
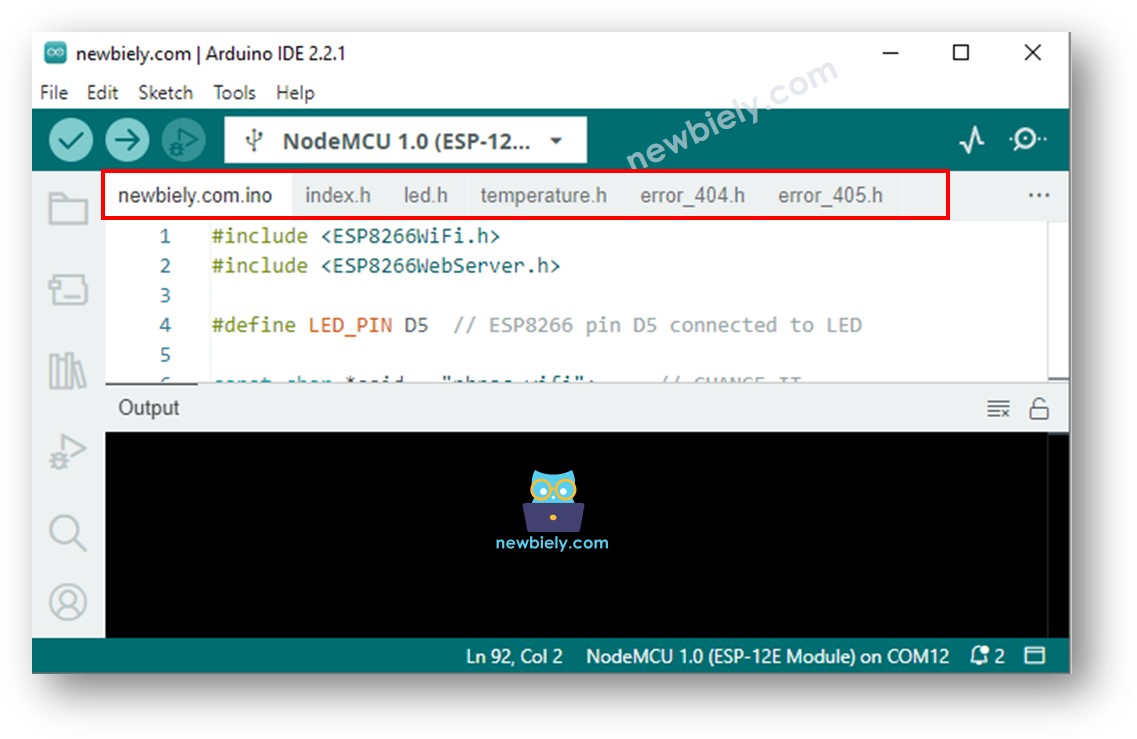
- Maintenant, vous avez plusieurs fichiers dans l'IDE Arduino comme ci-dessous:
- Cliquez sur le bouton Upload dans l'IDE Arduino pour téléverser le code sur la carte Arduino
- Accédez aux pages Web de la carte Arduino dans un navigateur Web une par une, comme auparavant. Vous verrez toutes les pages Web ci-dessous :
- Si vous apportez des modifications au contenu HTML dans le fichier index.h mais que vous ne modifiez rien dans le fichier ArduinoWebServer.ino, l'IDE Arduino ne rafraîchira ni ne mettra à jour le contenu HTML lorsque vous compilerez et téléchargerez le code sur l'ESP32.
- Pour forcer l'IDE Arduino à mettre à jour le contenu HTML dans cette situation, vous devez apporter une modification dans le fichier ArduinoWebServer.ino. Par exemple, vous pouvez ajouter une ligne vide ou insérer un commentaire. Cette action pousse l'IDE à reconnaître qu'il y a eu des modifications dans le projet, ce qui garantit que votre contenu HTML mis à jour est inclus dans le téléchargement.
※ Note: