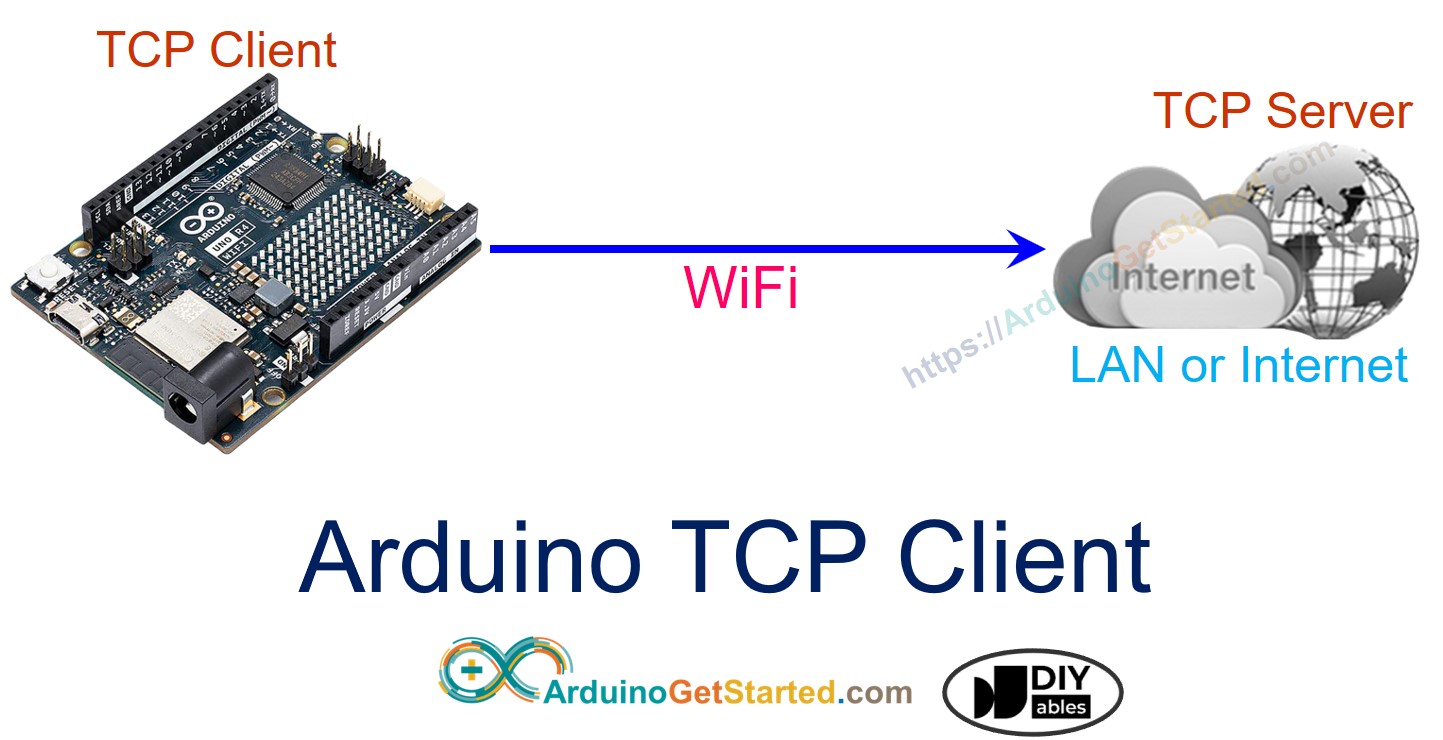
Arduino - Client TCP
Dans ce tutoriel, nous apprendrons à programmer l'Arduino Uno R4 WiFi en tant que client TCP et à échanger des données avec un serveur TCP.
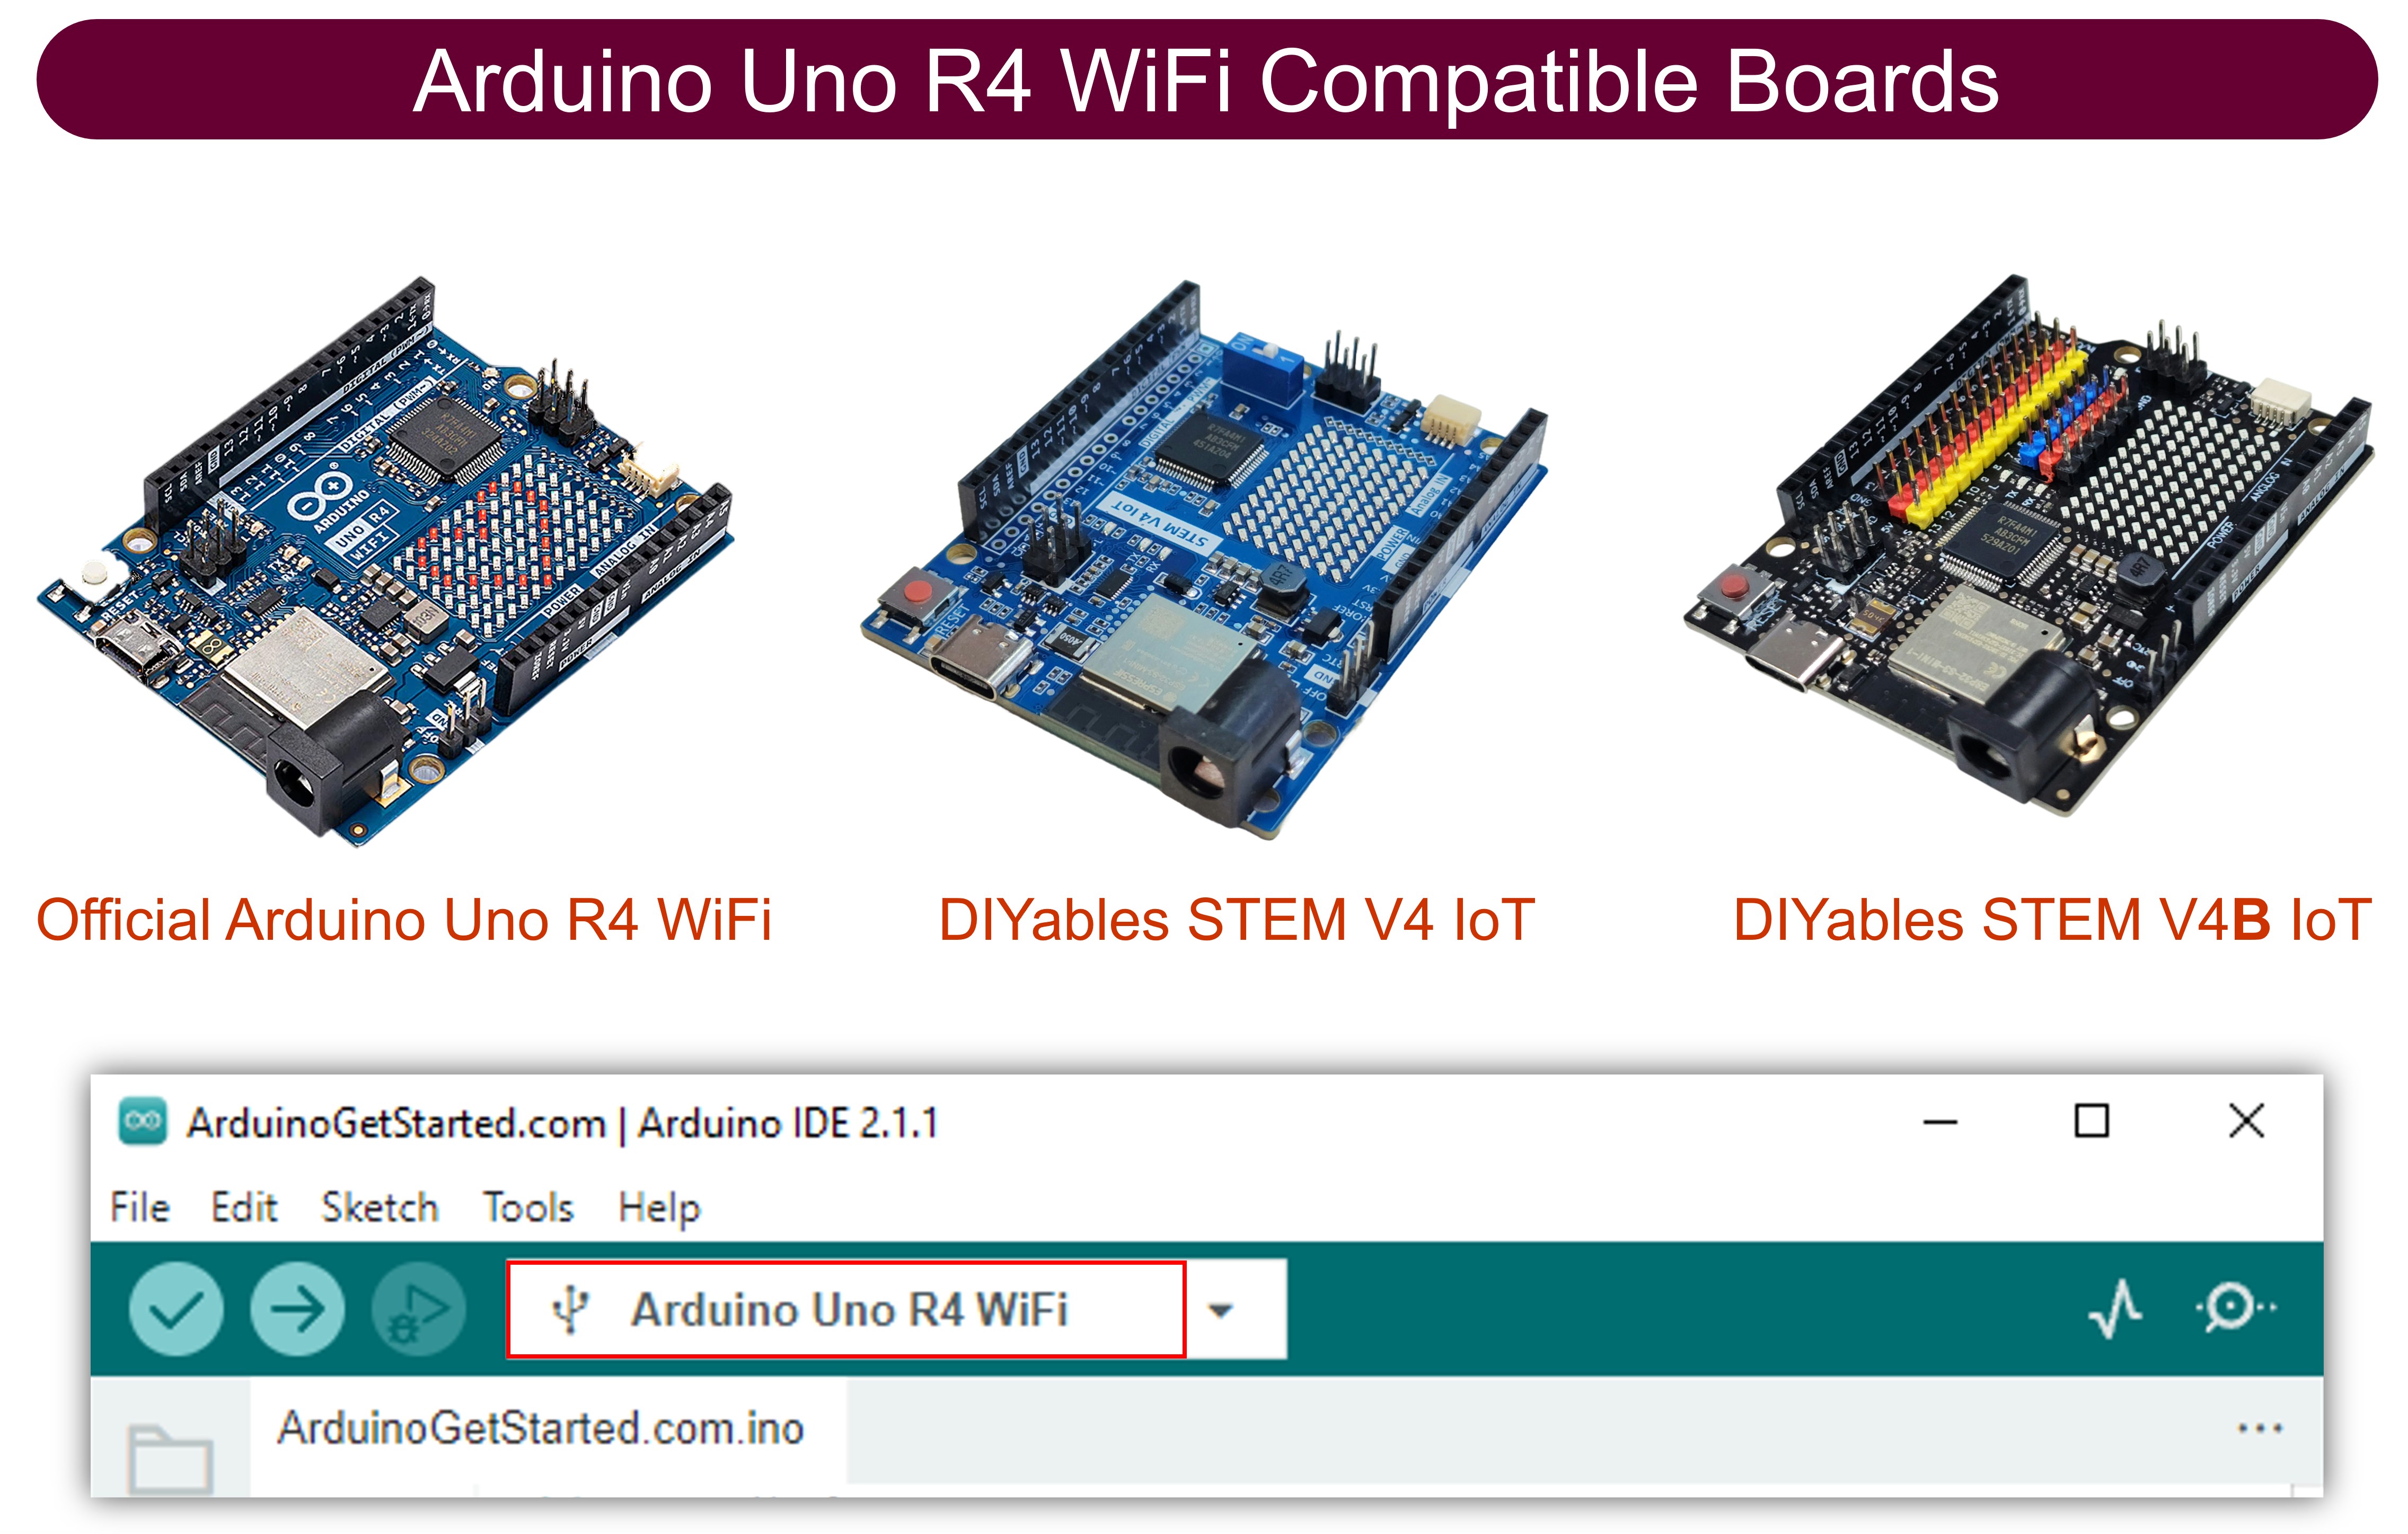
Préparation du matériel
Ou vous pouvez acheter les kits suivants:
| 1 | × | Kit de Démarrage DIYables STEM V4 IoT (Arduino inclus) | |
| 1 | × | Kit de Capteurs DIYables (18 capteurs/écrans) |
Divulgation : Certains des liens fournis dans cette section sont des liens affiliés Amazon. Nous pouvons recevoir une commission pour tout achat effectué via ces liens, sans coût supplémentaire pour vous. Nous vous remercions de votre soutien.
Code Arduino
/*
* Ce code Arduino a été développé par newbiely.fr
* Ce code Arduino est mis à disposition du public sans aucune restriction.
* Pour des instructions complètes et des schémas de câblage, veuillez visiter:
* https://newbiely.fr/tutorials/arduino/arduino-tcp-client
*/
#include <WiFiS3.h>
const char* WIFI_SSID = "YOUR_WIFI_SSID"; // CHANGE TO YOUR WIFI SSID
const char* WIFI_PASSWORD = "YOUR_WIFI_PASSWORD"; // CHANGE TO YOUR WIFI PASSWORD
const char* TCP_SERVER_ADDR = "192.168.0.26"; // CHANGE TO TCP SERVER'S IP ADDRESS
const int TCP_SERVER_PORT = 1470;
WiFiClient TCP_client;
void setup() {
Serial.begin(9600);
Serial.println("Arduino: TCP CLIENT");
// check for the WiFi module:
if (WiFi.status() == WL_NO_MODULE) {
Serial.println("Communication with WiFi module failed!");
// don't continue
while (true)
;
}
String fv = WiFi.firmwareVersion();
if (fv < WIFI_FIRMWARE_LATEST_VERSION) {
Serial.println("Please upgrade the firmware");
}
Serial.print("Attempting to connect to SSID: ");
Serial.println(WIFI_SSID);
// attempt to connect to WiFi network:
while (WiFi.begin(WIFI_SSID, WIFI_PASSWORD) != WL_CONNECTED) {
delay(10000); // wait 10 seconds for connection:
}
Serial.print("Connected to WiFi ");
Serial.println(WIFI_SSID);
// connect to TCP server
if (TCP_client.connect(TCP_SERVER_ADDR, TCP_SERVER_PORT)) {
Serial.println("Connected to TCP server");
TCP_client.write("Hello!"); // send to TCP Server
TCP_client.flush();
} else {
Serial.println("Failed to connect to TCP server");
}
}
void loop() {
// Read data from server and print them to Serial
if (TCP_client.available()) {
char c = TCP_client.read();
Serial.print(c);
}
if (!TCP_client.connected()) {
Serial.println("Connection is disconnected");
TCP_client.stop();
// reconnect to TCP server
if (TCP_client.connect(TCP_SERVER_ADDR, TCP_SERVER_PORT)) {
Serial.println("Reconnected to TCP server");
TCP_client.write("Hello!"); // send to TCP Server
TCP_client.flush();
} else {
Serial.println("Failed to reconnect to TCP server");
delay(1000);
}
}
}
Étape rapide
Pour ce faire, suivez les étapes ci-dessous :
- Connectez Arduino à votre PC via un câble USB Type-C
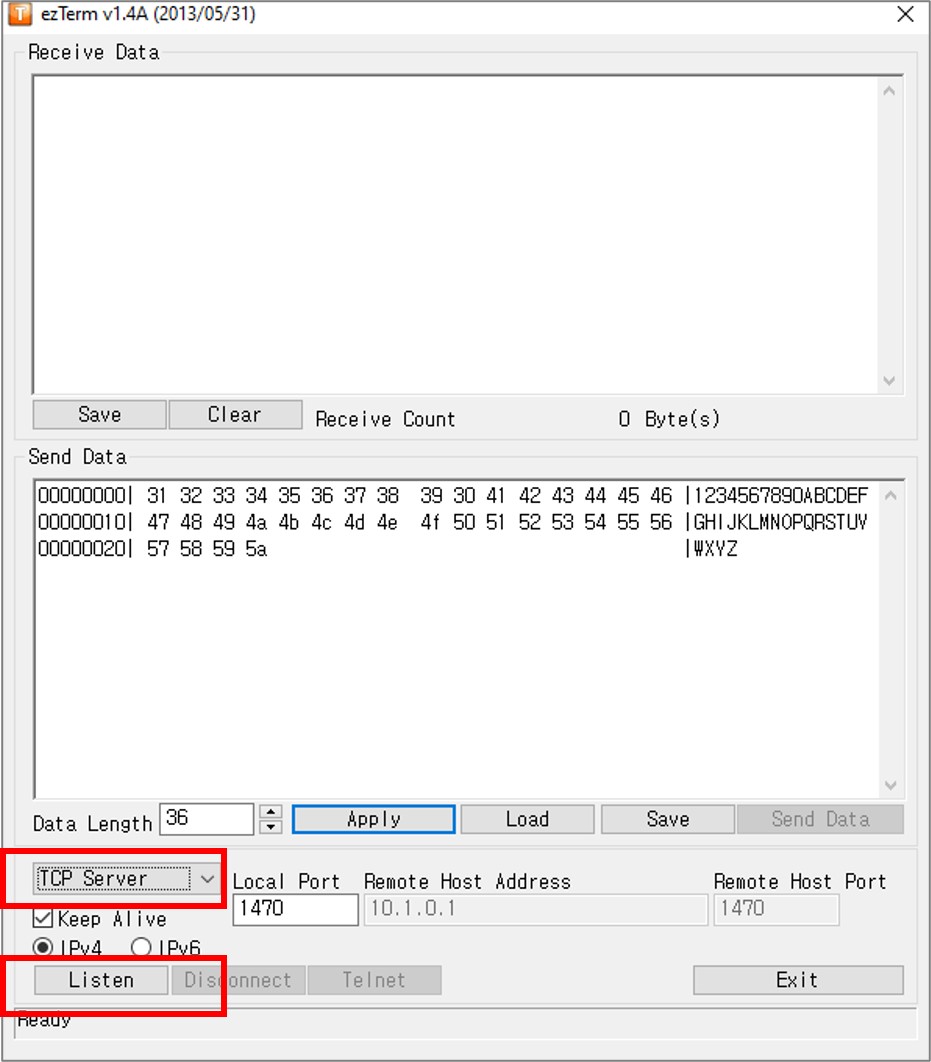
- Installez un programme de serveur TCP comme ezTerm
- Ouvrez le programme serveur TCP et configurez-le en tant que serveur TCP, puis cliquez sur le bouton Écouter
- Ouvrez l'invite de commande sur votre PC.
- Trouvez l'adresse IP de votre PC en exécutant la commande ci-dessous :
ipconfig
- La sortie ressemble à ce qui suit :
Command Prompt
C:\WINDOWS\system32>ipconfig
Windows IP Configuration
Ethernet adapter:
Subnet Mask . . . . . . . . . . . : 255.0.0.0
IPv4 Address. . . . . . . . . . . : 192.168.0.26
Subnet Mask . . . . . . . . . . . : 255.255.255.0
Default Gateway . . . . . . . . . :
- Modifiez l'adresse IP de votre serveur TCP (votre PC) dans le code Arduino. Dans l'exemple ci-dessus, elle est indiquée par 192.168.0.26.
- Compilez et téléchargez le code sur la carte Arduino en cliquant sur le bouton Upload dans l'IDE Arduino.
- Ouvrez le moniteur série
- Vous verrez ce qui suit sur le moniteur série
8
Serial.println("Hello World!");
Message (Enter to send message to 'Arduino Uno' on 'COM15')
New Line
9600 baud
Connected to WiFi YOUR_WIFI_SSID
Connected to TCP server
- Après s'être connecté au serveur TCP, Arduino enverra un "Bonjour !" au serveur TCP, et vous verrez ce texte sur le logiciel du serveur TCP.
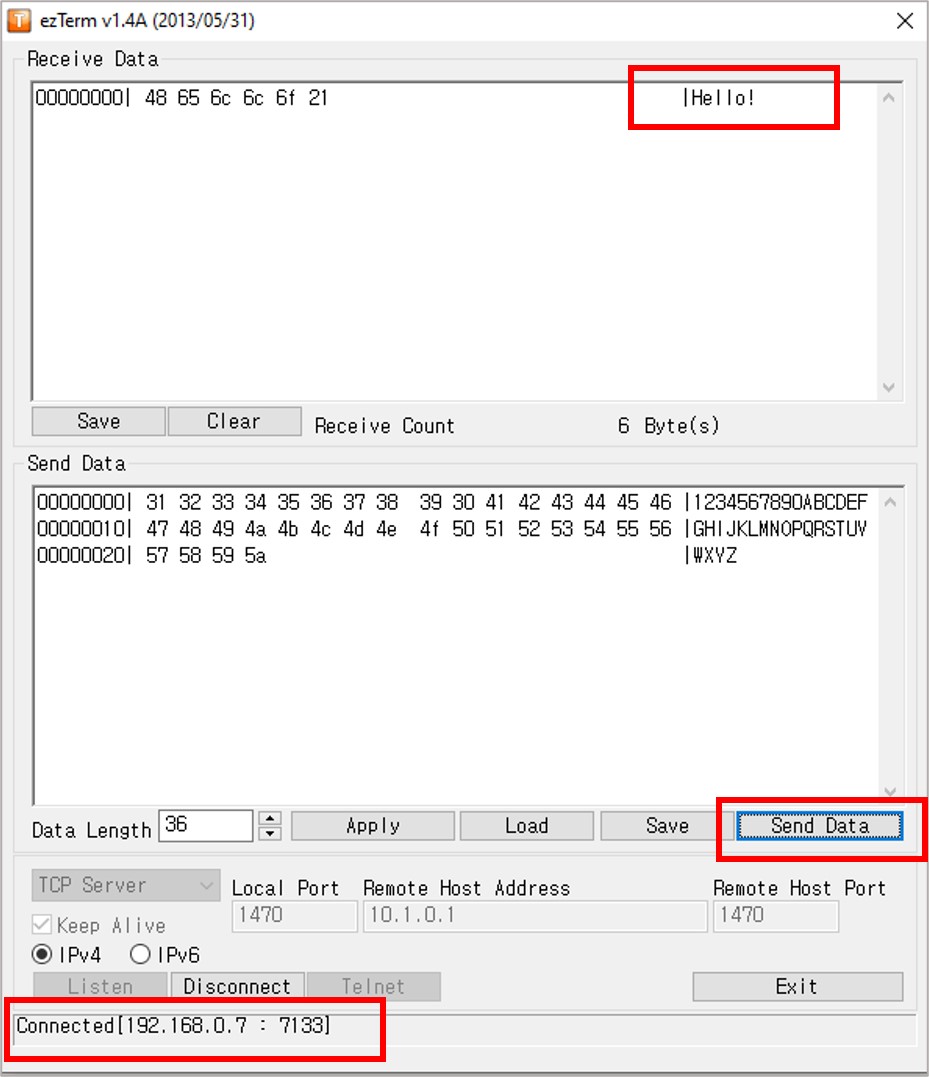
- Tapez des données dans le programme du serveur TCP pour les envoyer à l'Arduino via TCP.
- Si cela réussit, vous verrez les données dans le moniteur série.
8
Serial.println("Hello World!");
Message (Enter to send message to 'Arduino Uno' on 'COM15')
New Line
9600 baud
Connected to WiFi YOUR_WIFI_SSID
Connected to TCP server
1234567890ABCDEFGHIJKLMNOPQRSTUVWXYZ