Arduino Uno R4 - Écran OLED SSD1309 128x64 | Guide OLED I2C de 2,42 pouces
Les écrans à diode électroluminescente organique (OLED) présentent des pixels auto-illuminés qui produisent des noirs profonds, des rapports de contraste supérieurs et d’excellents angles de vision dans toutes les directions — offrant des avantages significatifs par rapport à la technologie LCD conventionnelle. Le circuit de pilotage SSD1309 alimente les modules OLED monochromes 128 × 64 de taille 2,42 pouces (également commercialisés sous le nom de 2,4 pouces) utilisant une communication I2C.
Ce guide pratique vous guide pas à pas pour interfacer le SSD1309 OLED 128×64 avec votre carte Arduino Uno R4 via la bibliothèque DIYables_OLED_SSD1309. Vous découvrirez comment :
- Connecter l'OLED SSD1309 de 2,42 pouces à l'Arduino Uno R4 en utilisant le bus I2C
- Afficher des chaînes de texte et des valeurs numériques à l'écran
- Positionner le texte au centre horizontalement et verticalement
- Tracer des primitives géométriques (lignes, rectangles, cercles, triangles, formes arrondies)
- Afficher des graphiques bitmap en noir et blanc
- Activer le défilement matériel dans plusieurs directions
- Régler la luminosité et le contraste de l'affichage
- Intégrer des polices personnalisées de la bibliothèque Adafruit GFX
Préparation du matériel
Ou vous pouvez acheter les kits suivants:
| 1 | × | Kit de Capteurs DIYables (18 capteurs/écrans) |
À propos de l'écran OLED SSD1309 de 2,42 pouces
Le SSD1309 est un circuit intégré pilote CMOS dédié, conçu pour des matrices OLED de 128×64 pixels. Son ensemble de registres demeure compatible avec le populaire SSD1306, permettant la réutilisation du code avec de légères modifications. Les distinctions matérielles notables incluent:
- Besoin d'alimentation externe — contrairement à la pompe de charge intégrée du SSD1306, le SSD1309 repose sur une alimentation VCC externe. Cependant, des cartes breakout disponibles dans le commerce (y compris les variantes de 2,42 pouces et 2,4 pouces) intègrent des convertisseurs boost embarqués, ce qui rend cette différence transparente lors de l'utilisation.
- Plage de tension étendue — le SSD1309 gère jusqu'à 16 V en entrée VCC, alors que le SSD1306 se limite à environ 4,2 V.
Le module OLED de 2,42 pouces (2,4 pouces) utilise généralement le contrôleur SSD1309 et offre un écran d'une résolution de 128×64, communiquant via le protocole I2C. La couleur d'affichage (blanc, bleu, jaune, vert, ou zones bicolores) dépend du substrat OLED physique et ne peut pas être modifiée par des commandes logicielles.
Ce tutoriel se connecte à l'affichage via le bus I2C, nécessitant uniquement deux lignes de signal (SDA et SCL) et permettant le partage du bus avec des périphériques I2C supplémentaires.
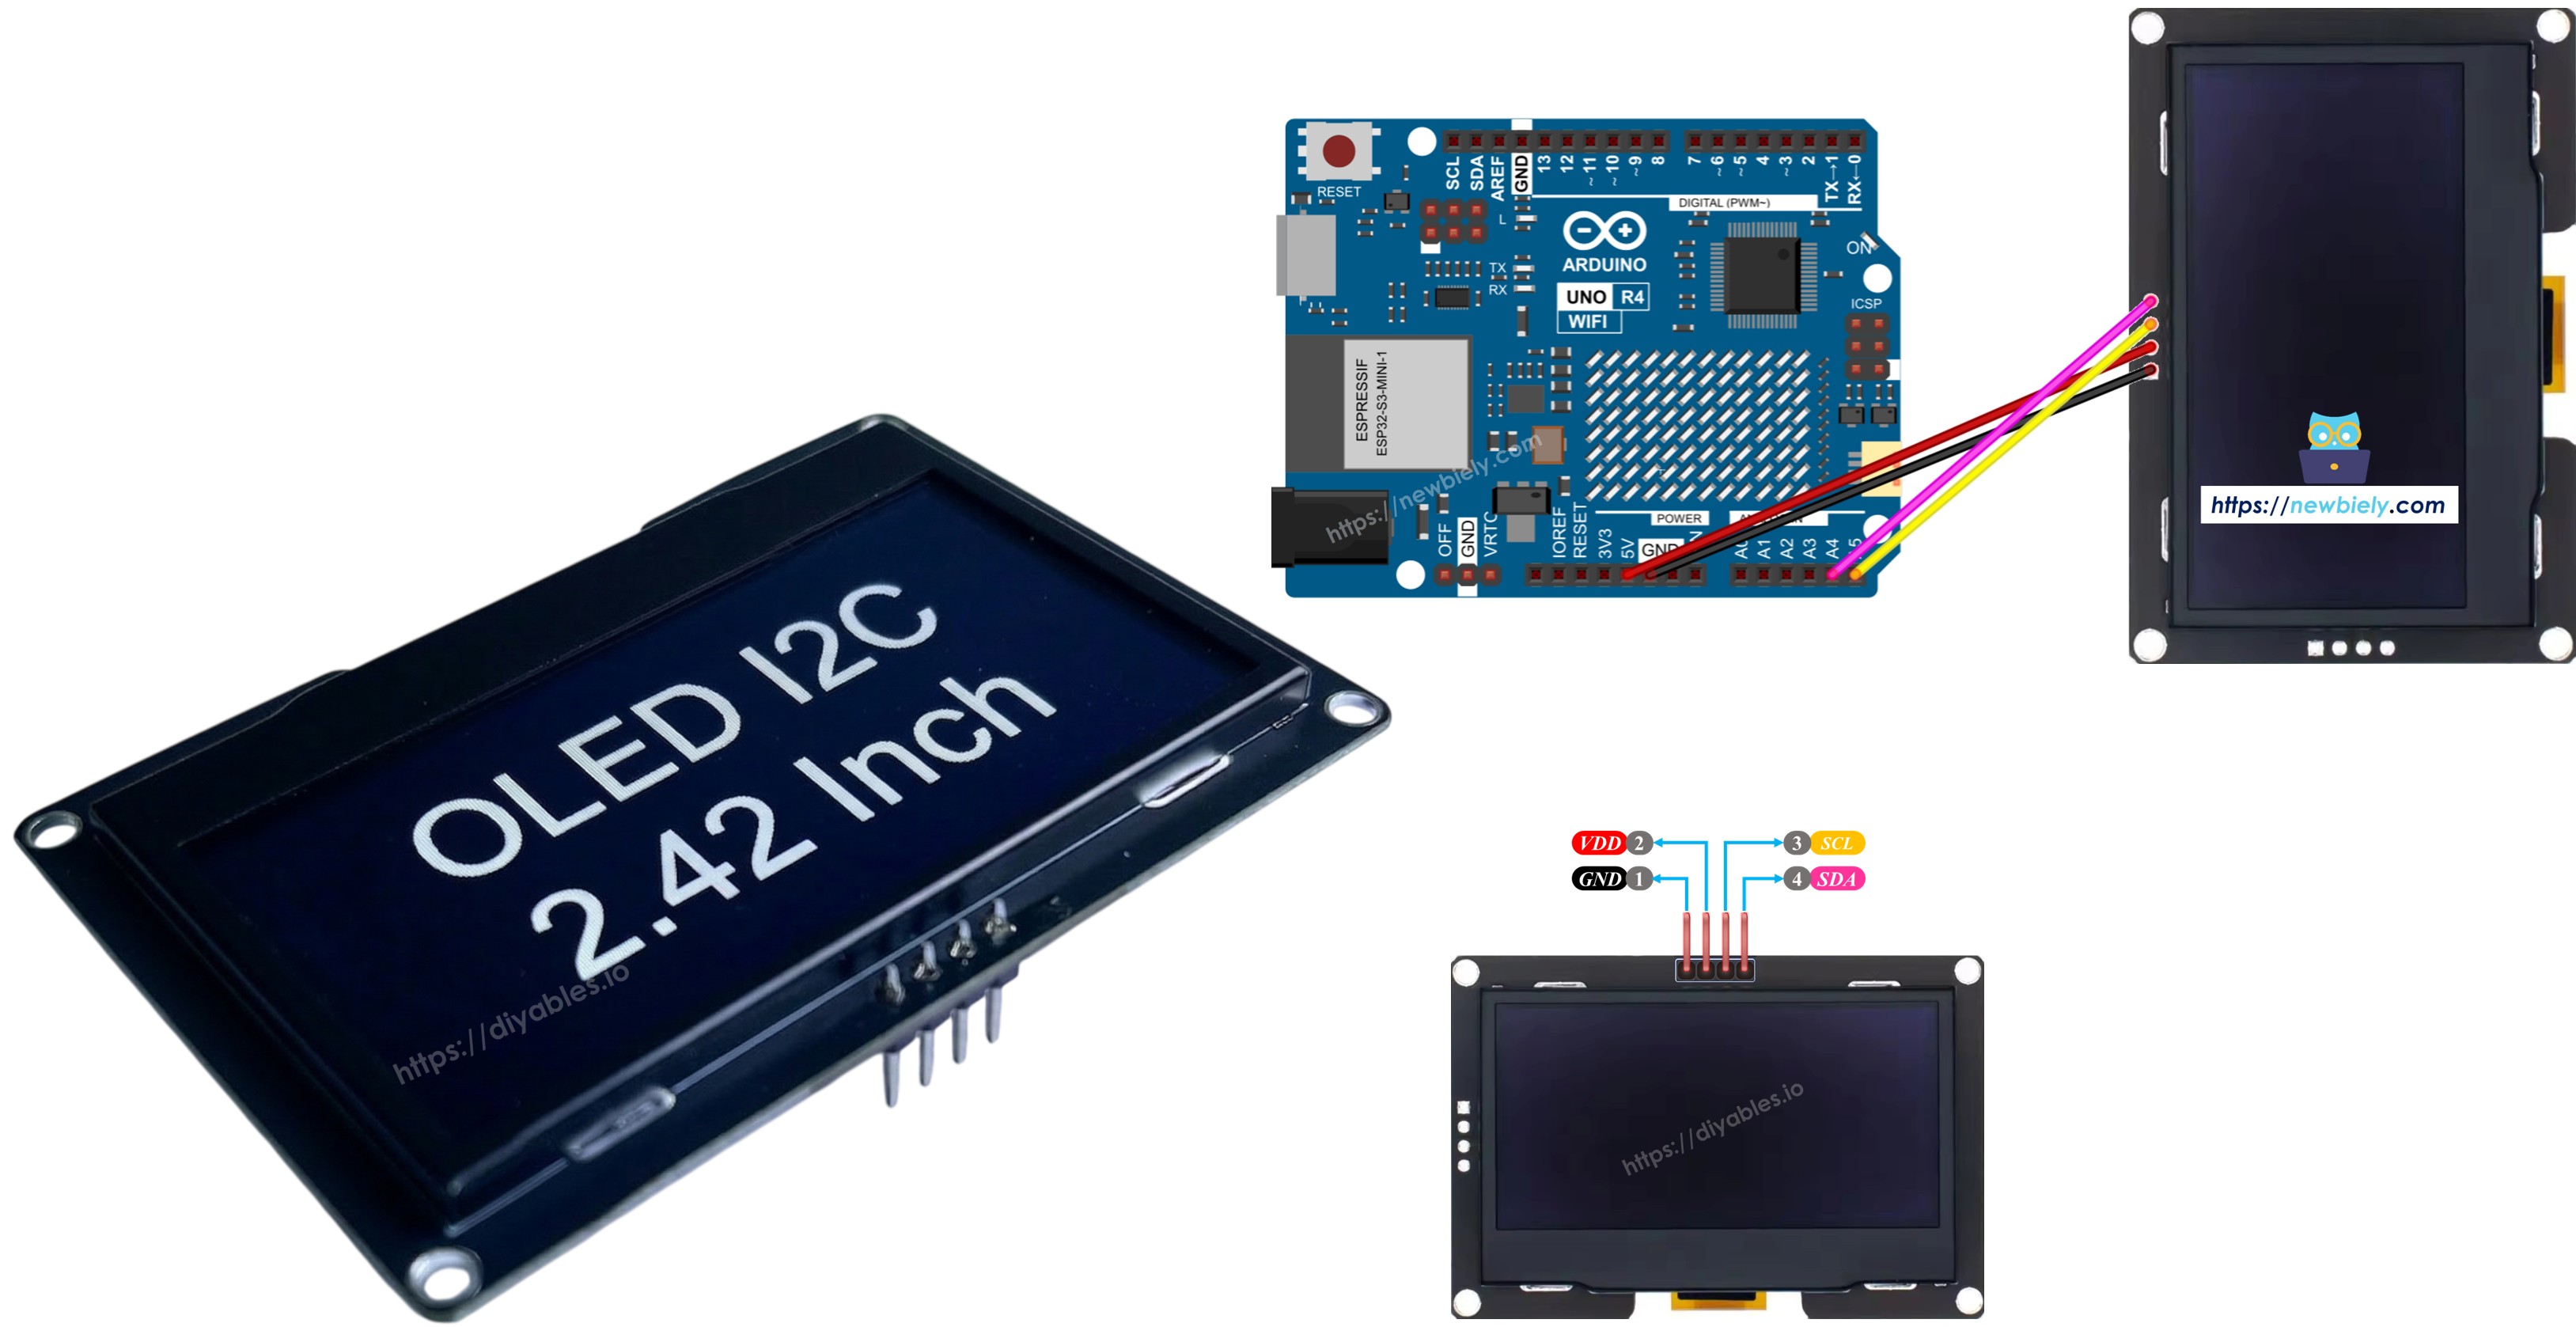
Schéma des broches de l'OLED SSD1309 (Module I2C)
Les modules OLED I2C SSD1309 standard de 2,42 pouces comportent quatre broches de connexion :
- GND — Connectez-le à la référence de masse de l'Arduino Uno R4.
- VCC — Entrée d'alimentation. Reliez-la à la sortie 5 V de l'Arduino Uno R4 (ou 3,3 V si le module le prend en charge).
- SCL — ligne d'horloge I2C.
- SDA — ligne de données I2C.
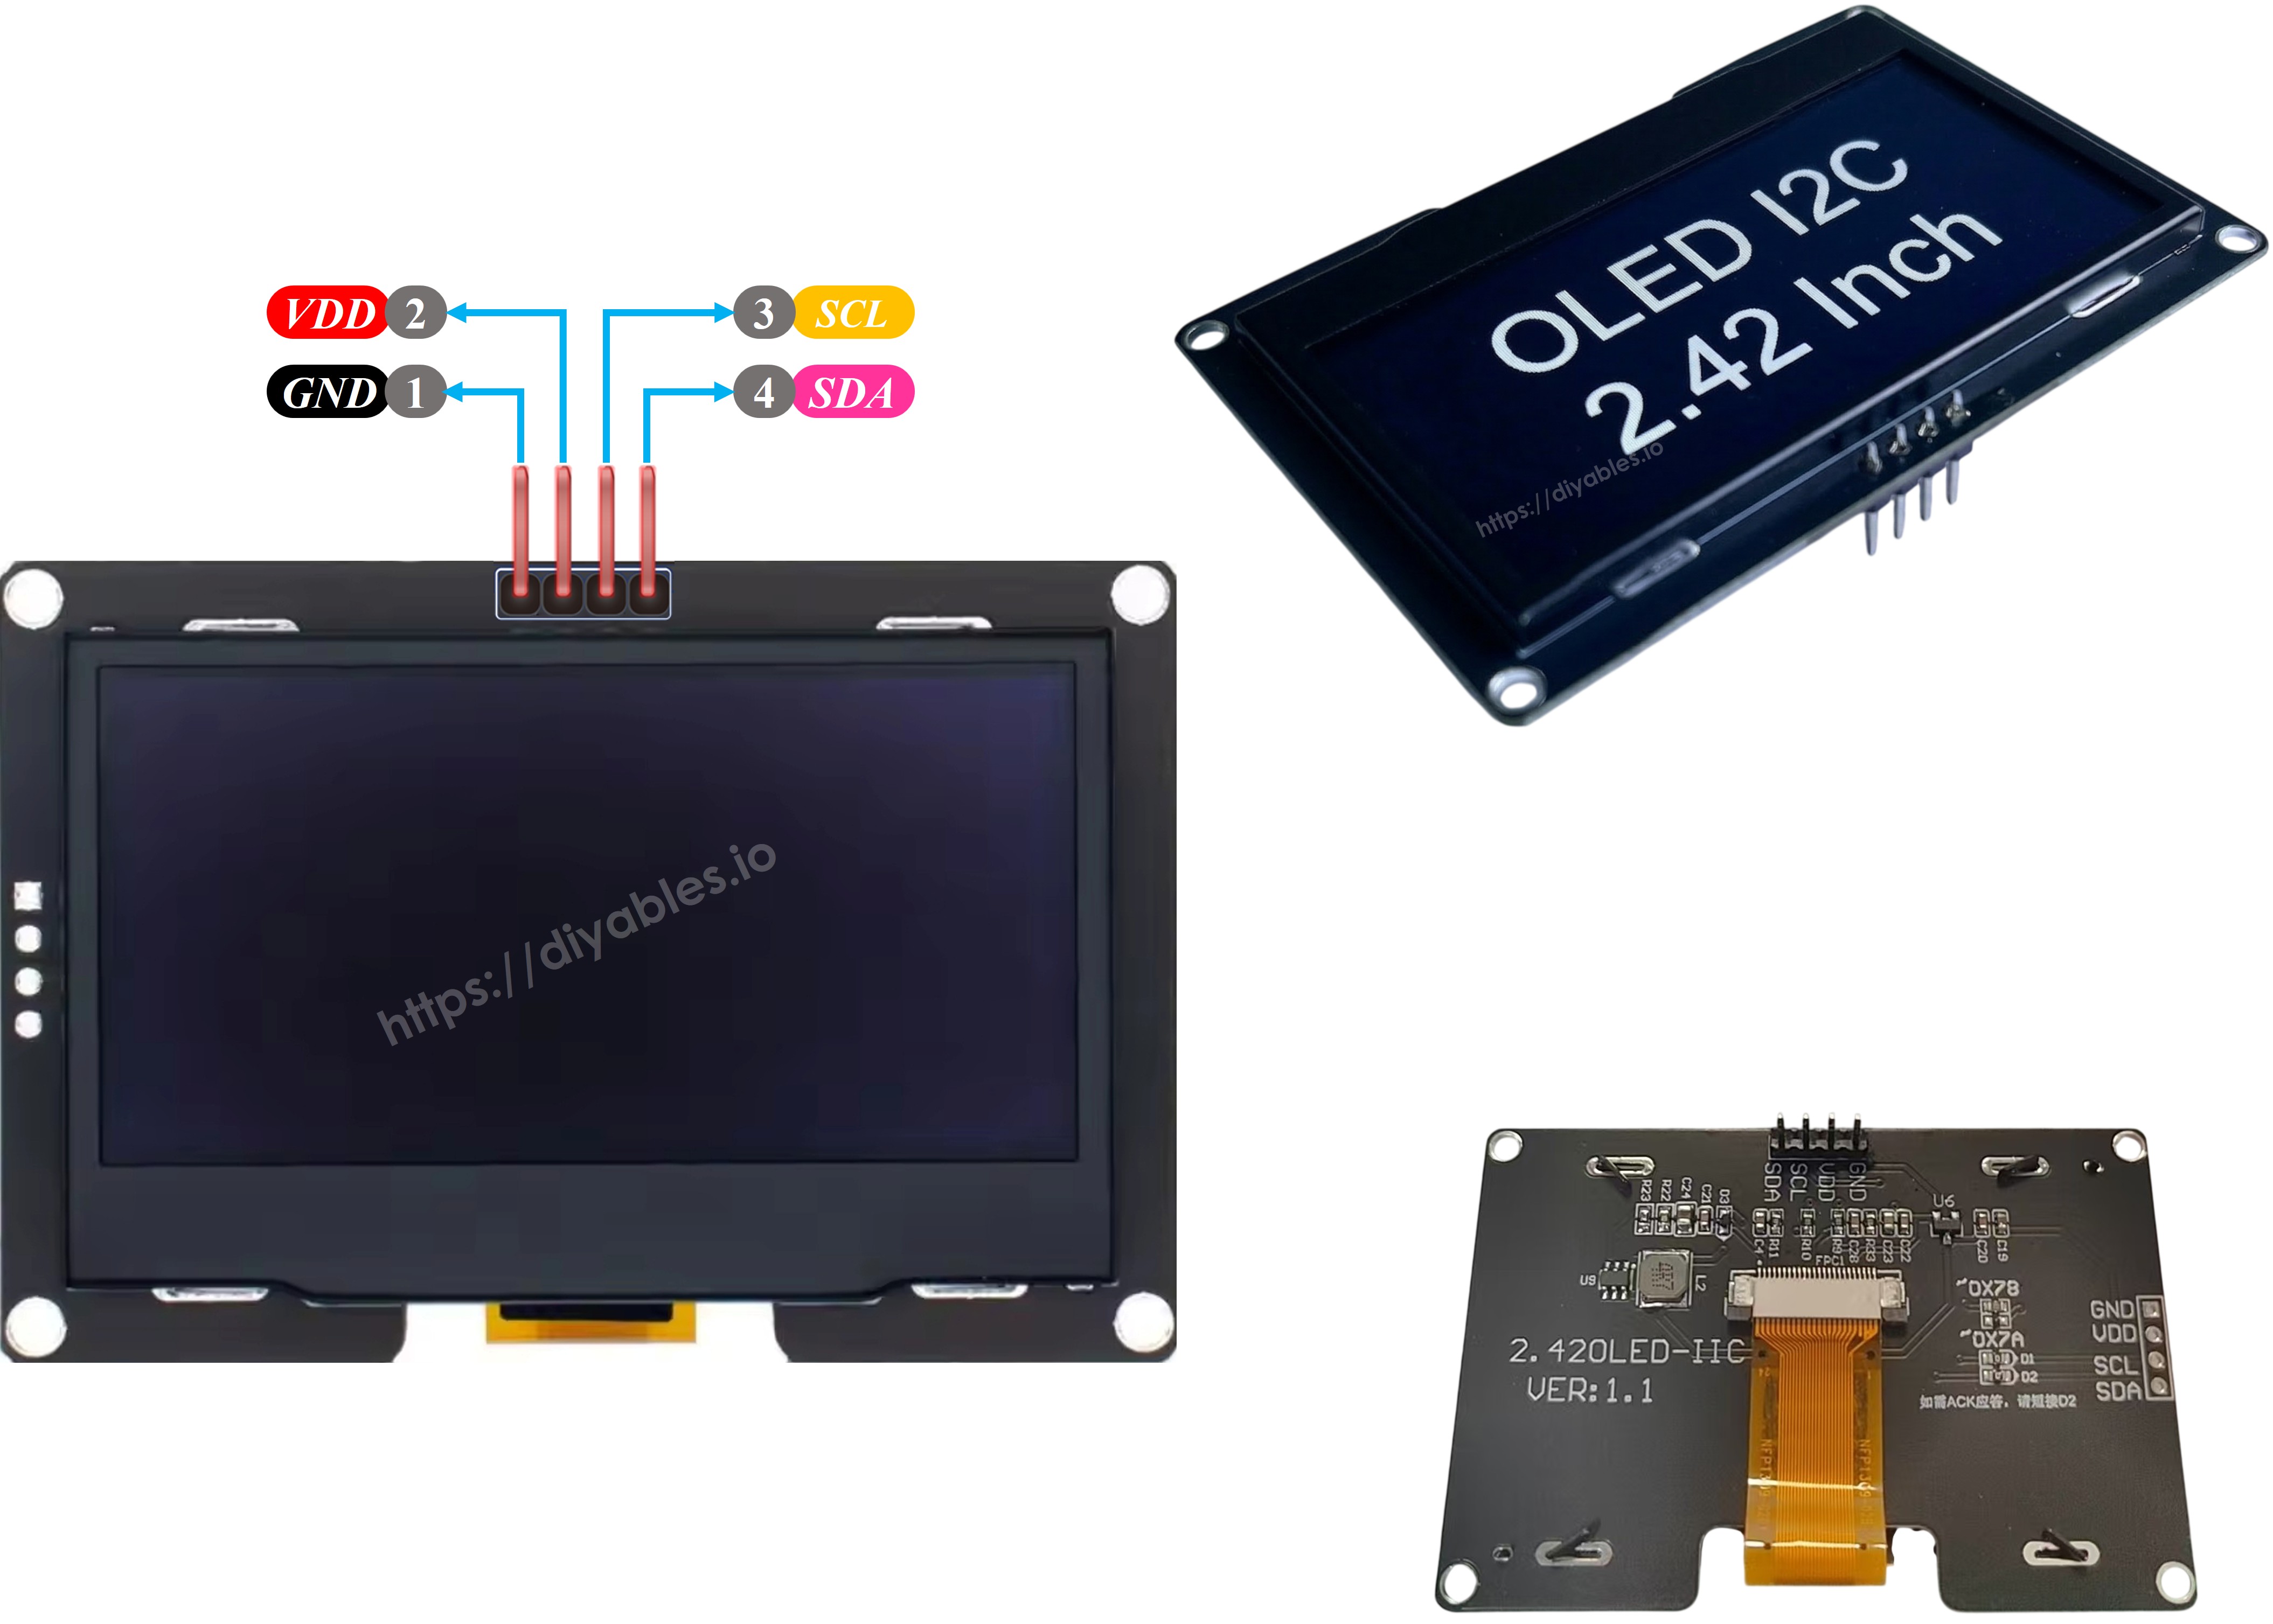
※ Note:
- L'agencement des broches diffère selon les fabricants. Vérifiez toujours les étiquettes de sérigraphie sur votre module spécifique avant de faire les connexions.
- Ce guide a été validé avec l'écran OLED SSD1309 de 2,42 pouces provenant de DIYables. D'autres modules basés sur le SSD1309 de 2,4/2,42 pouces devraient fonctionner de manière identique.
Schéma de câblage — Arduino Uno R4 et OLED SSD1309 128×64
- Connexions schématiques entre l'Arduino Uno R4 et l'OLED SSD1309 de 2,42 pouces 128×64

Cette image a été créée avec Fritzing. Cliquez pour agrandir l'image.
- Photographie du câblage physique entre l'Arduino Uno R4 et l'OLED SSD1309 128×64
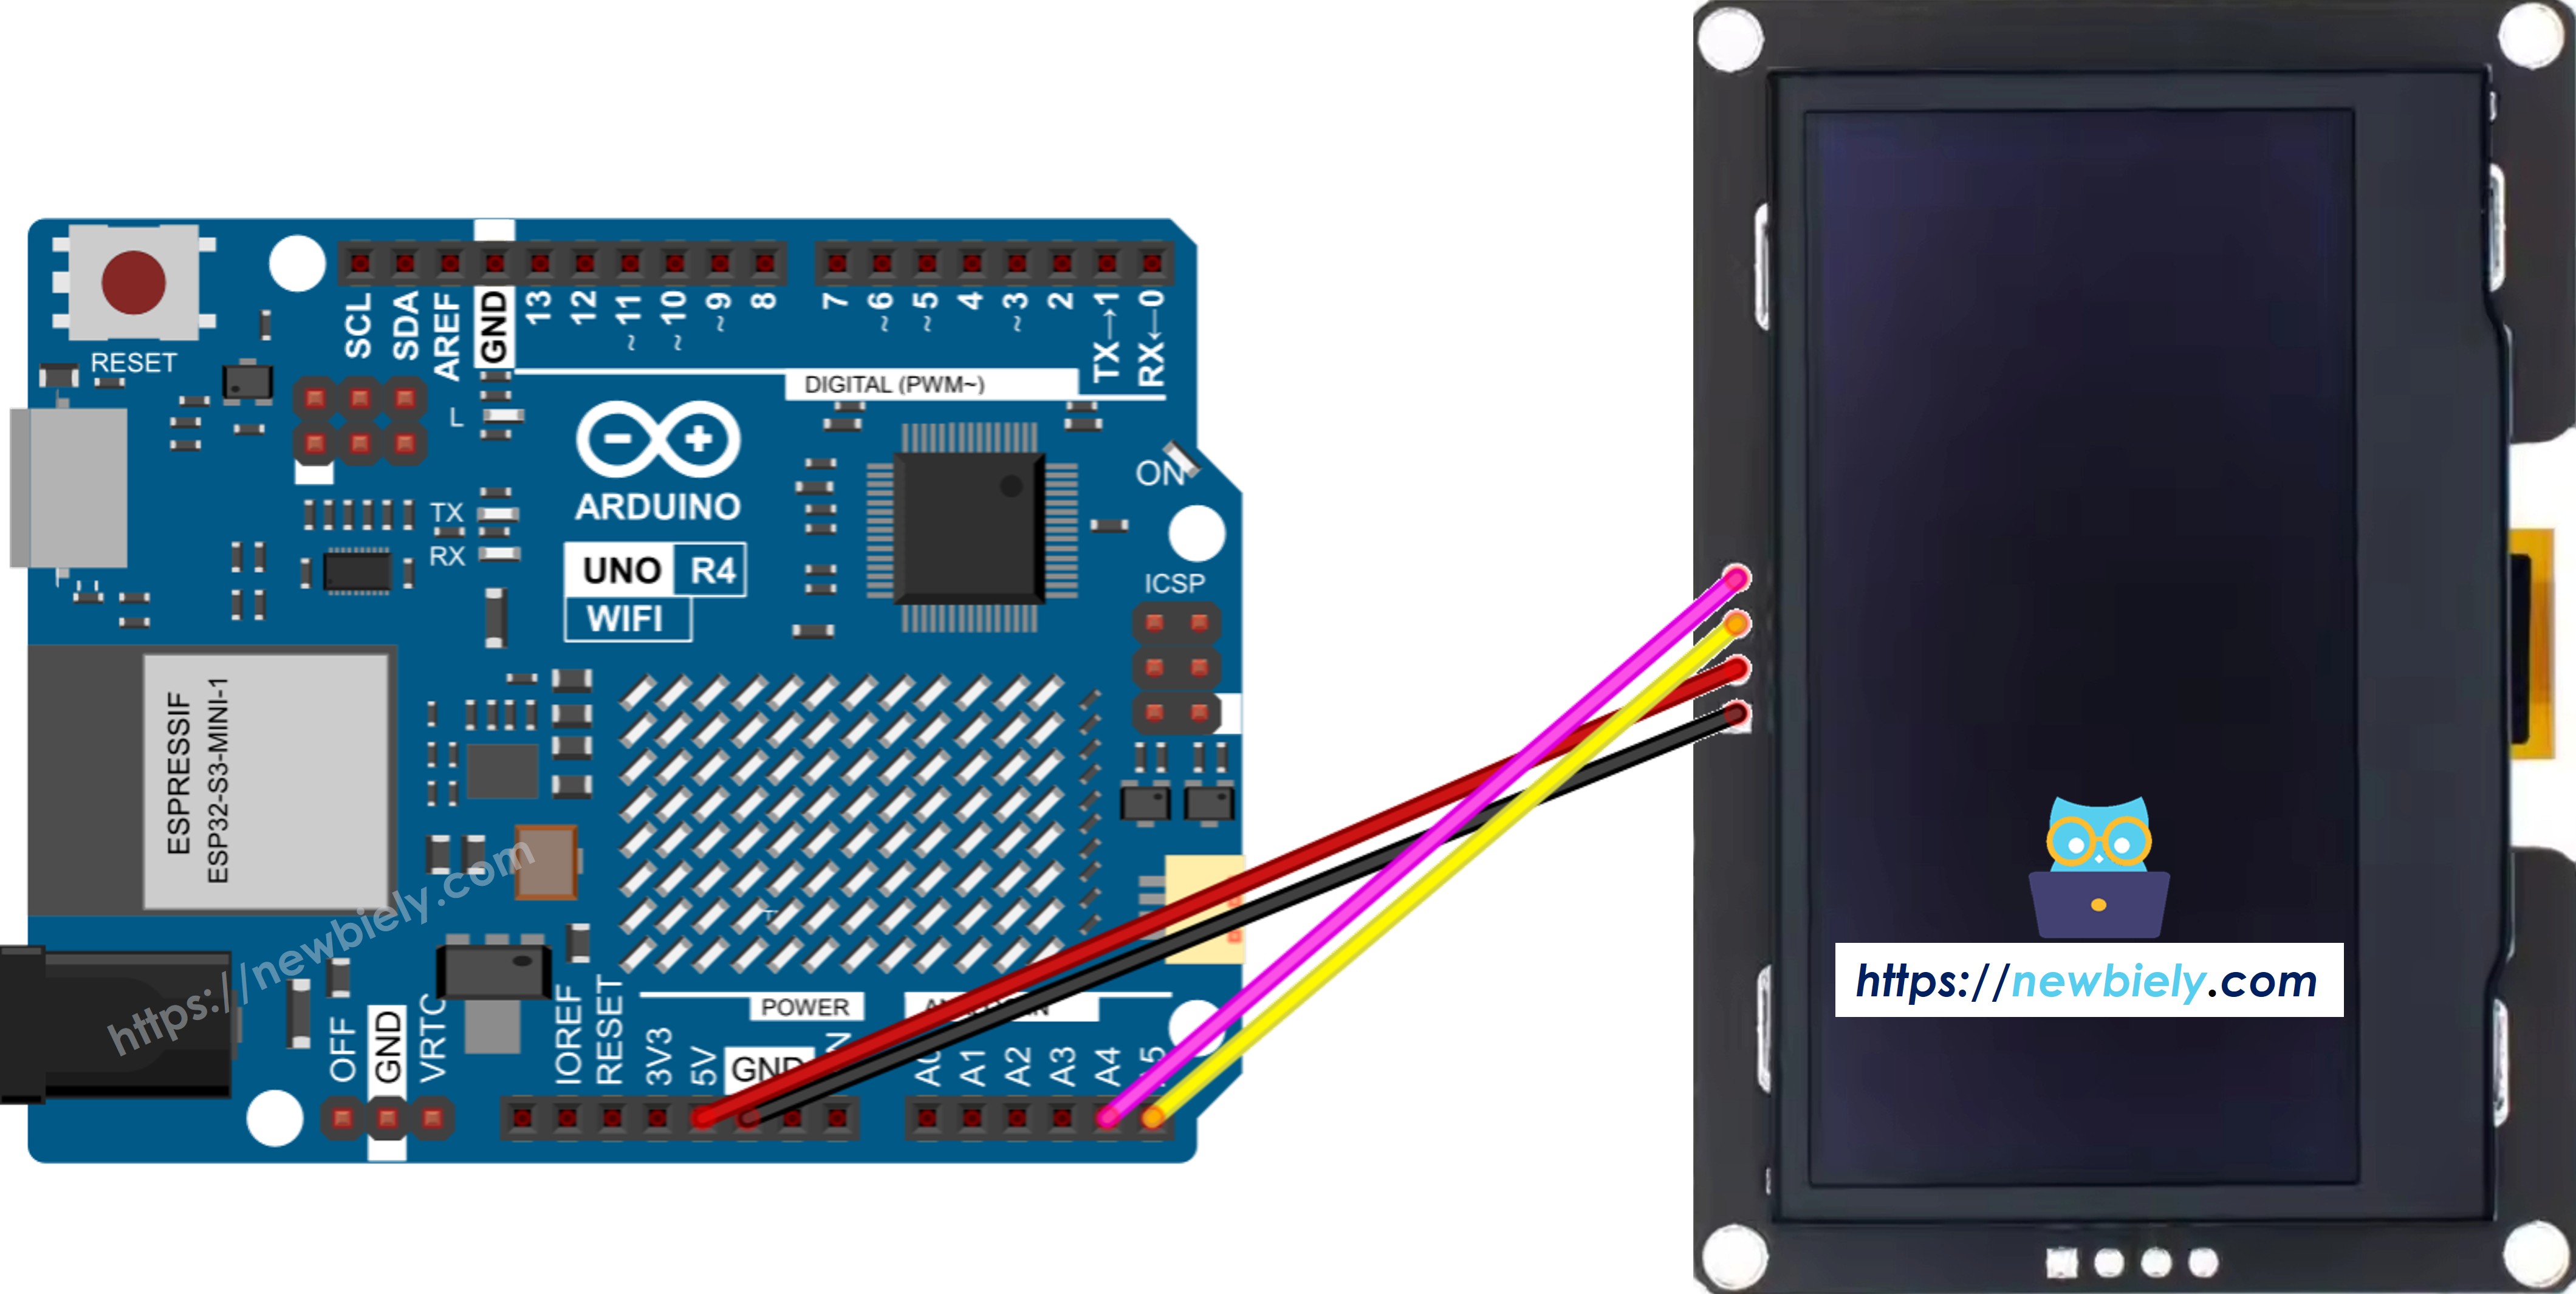
Cette image a été créée avec Fritzing. Cliquez pour agrandir l'image.
Voir Comment alimenter l'Arduino UNO R4..
L'Arduino Uno R4 utilise les mêmes emplacements des broches I2C que l'Uno classique. Détails de connexion :
| OLED Module | Arduino Uno R4 |
|---|---|
| Vin | 5V |
| GND | GND |
| SDA | A4 (or SDA pin) |
| SCL | A5 (or SCL pin) |
Démarrage — OLED SSD1309 avec Arduino Uno R4
Étape 1 : Installer la bibliothèque DIYables_OLED_SSD1309
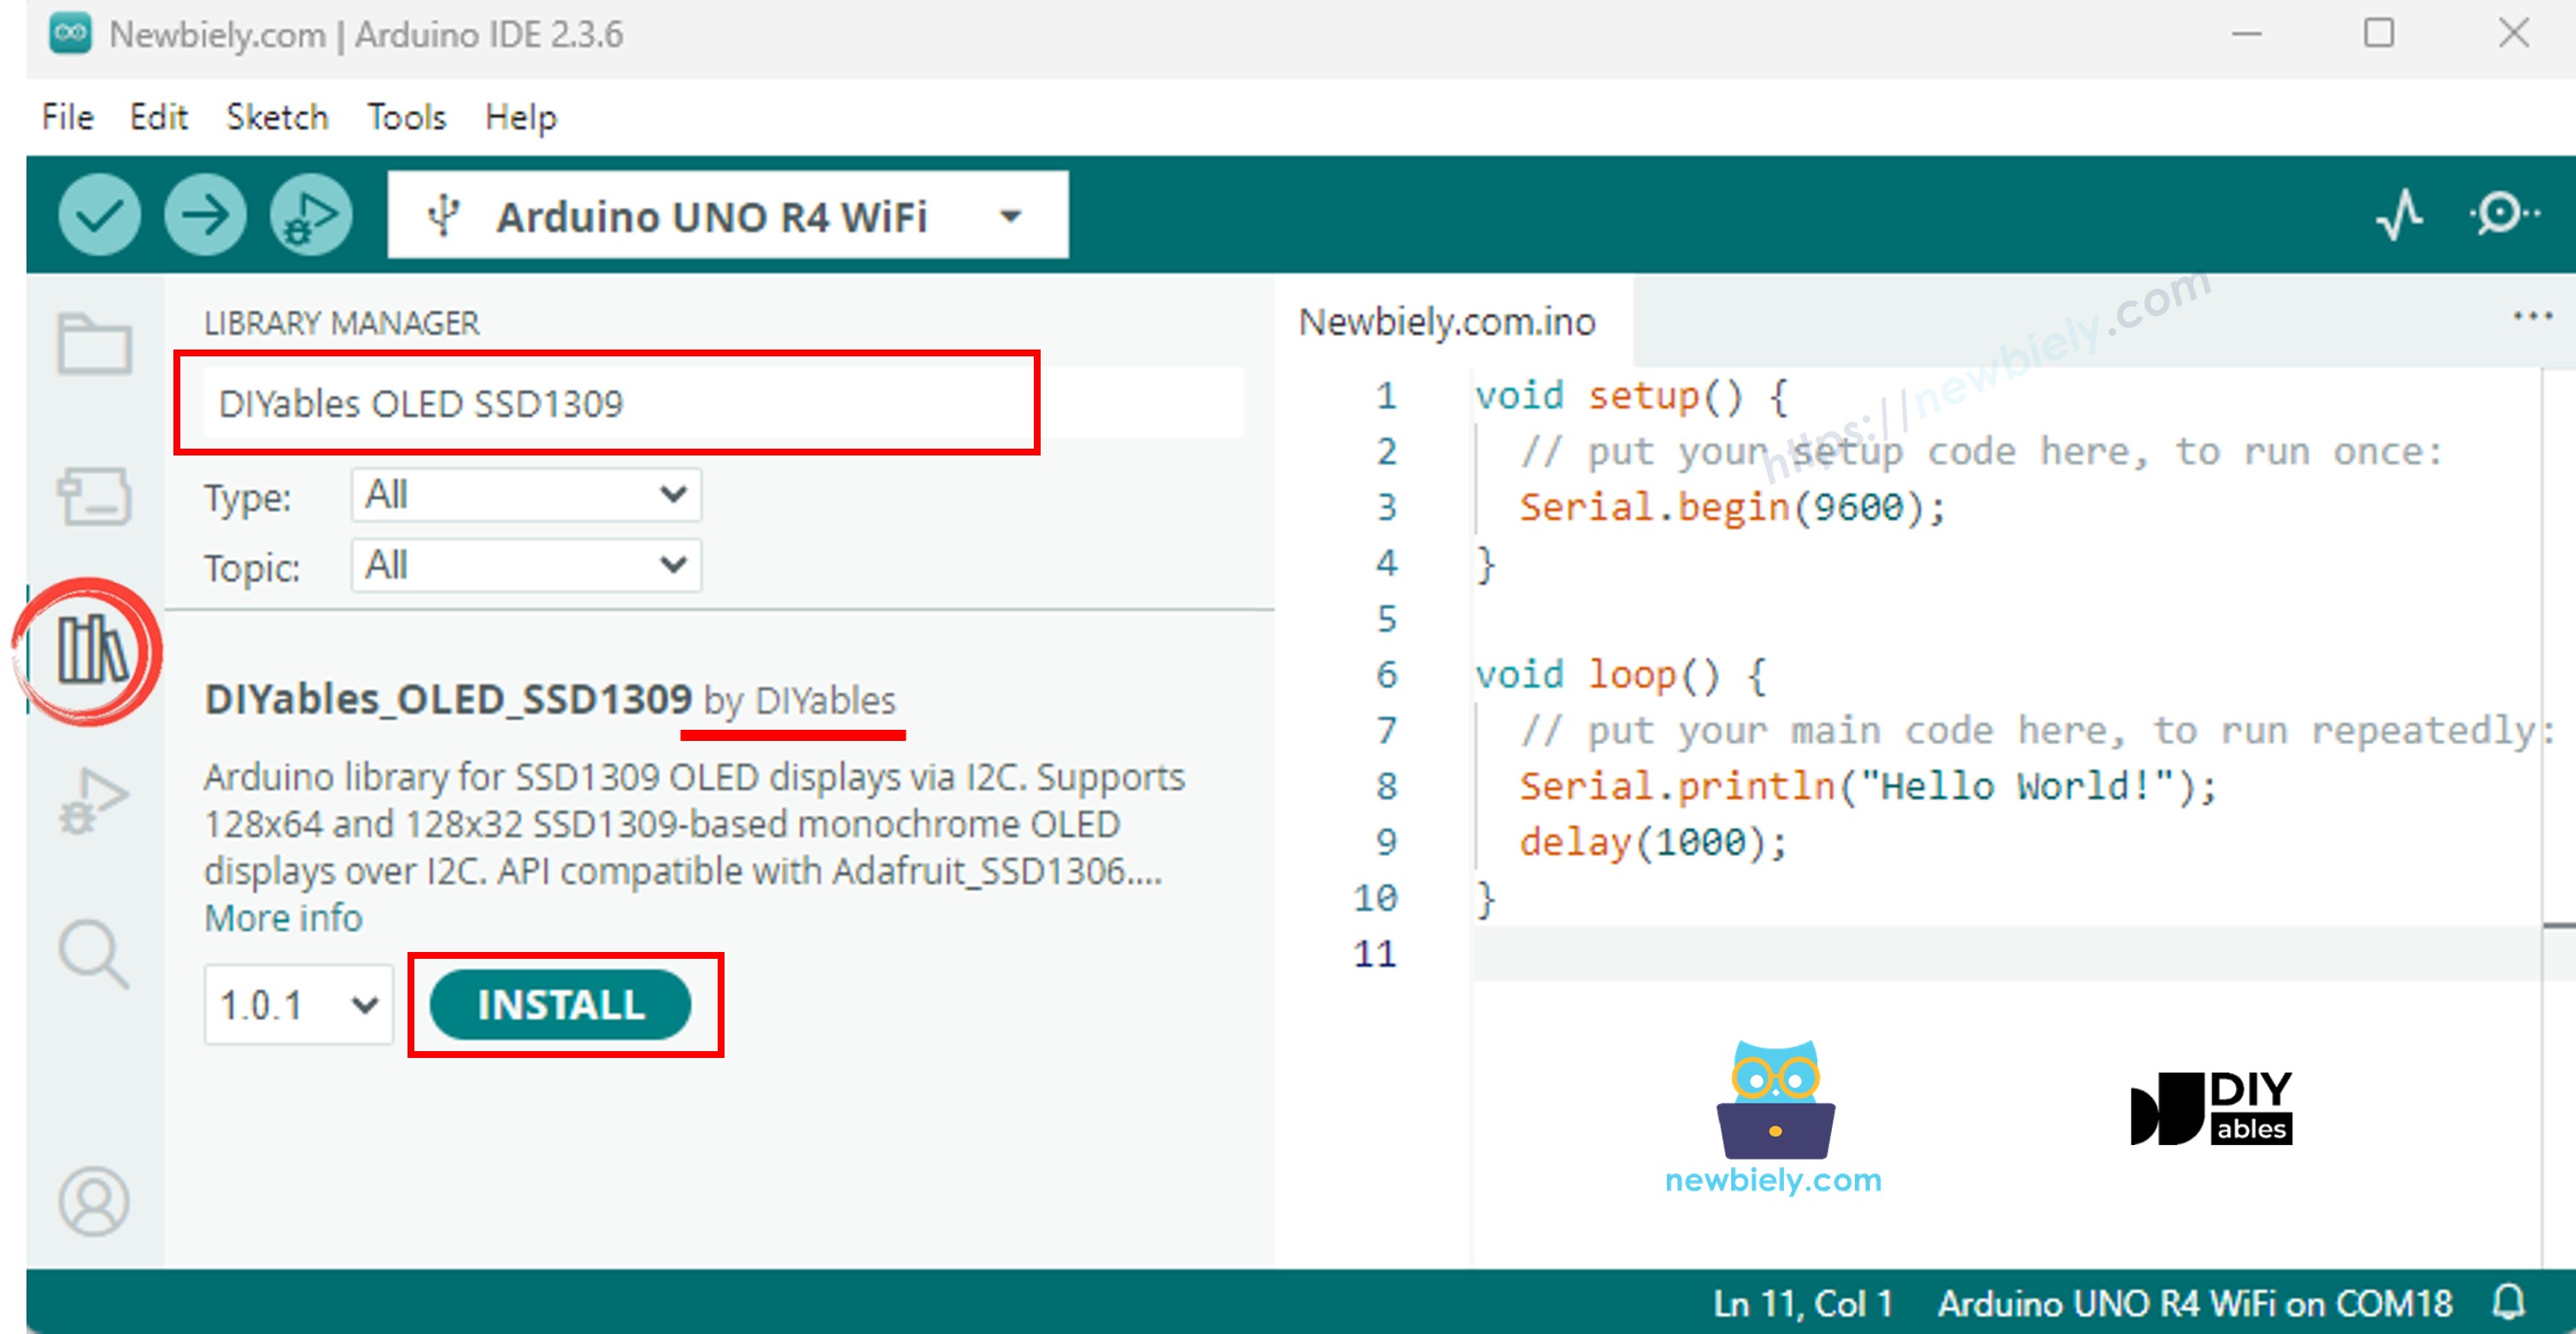
- Lancez l'IDE Arduino et cliquez sur l'icône Libraries dans la barre latérale gauche.
- Saisissez "DIYables_OLED_SSD1309" dans le champ de recherche et trouvez la bibliothèque de DIYables.
- Cliquez sur le bouton Install.
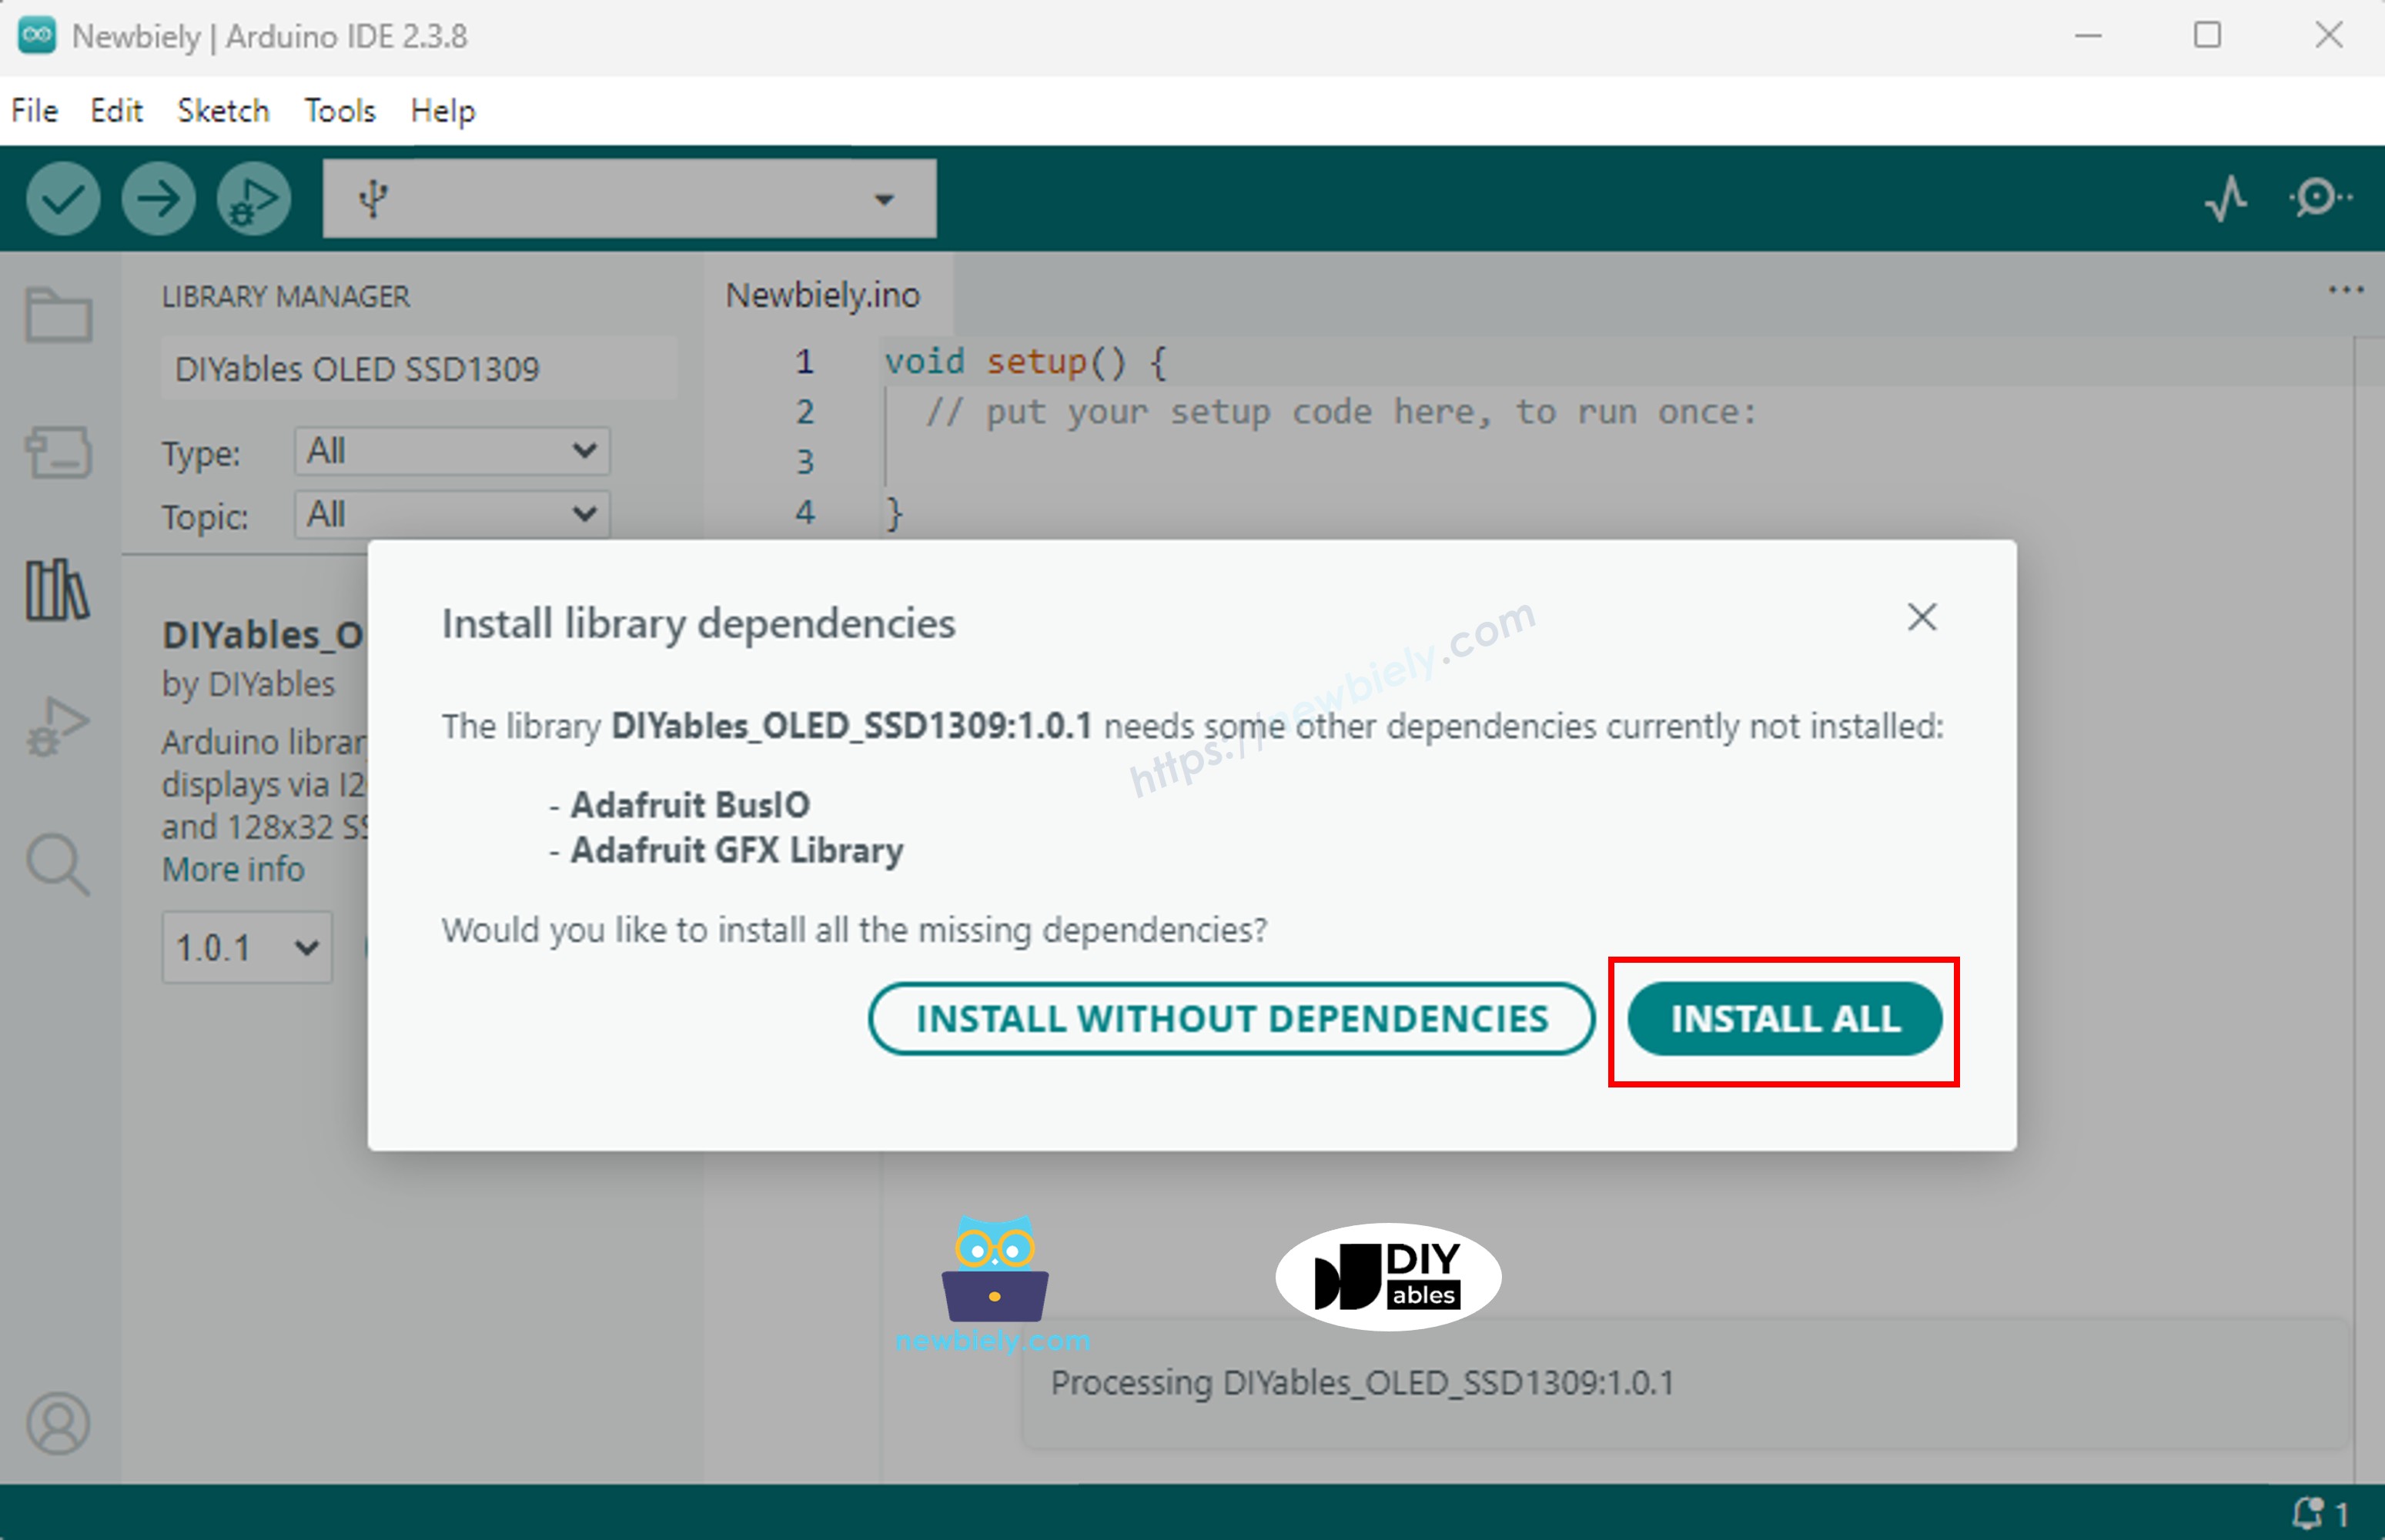
- L'IDE vous invitera à installer la dépendance requise (Adafruit GFX Library). Cliquez sur Tout installer.
Étape 2 : Structure de programmation de base
Tous les croquis SSD1309 suivent cette structure cohérente : inclure les en-têtes, instancier un objet d'affichage, l'initialiser dans setup(), dessiner le contenu dans le tampon de trame, puis transférer le tampon à l'écran en utilisant display().
- Inclure les en-têtes nécessaires:
- Définir les dimensions de l'écran (128×64 pour le module de 2,42 pouces):
- Instancier l'objet d'affichage (utiliser -1 lorsque aucune broche de réinitialisation n'est connectée):
- Initialiser l'affichage dans setup():
- Après l'initialisation, appelez les fonctions de dessin (clearDisplay(), drawPixel(), print(), etc.) puis oled.display() pour actualiser l'écran.
※ Note:
Tous les exemples de code de ce guide ciblent l'écran OLED SSD1309 128×64 (2,42 pouces) et utilisent la bibliothèque DIYables_OLED_SSD1309 avec l'Arduino Uno R4.
Arduino Uno R4 Code — Bonjour le monde sur écran OLED SSD1309
La démonstration la plus simple : afficher du texte à plusieurs tailles.
Code pour Arduino Uno R4 — Afficher du texte sur l'OLED SSD1309
Cet exemple met en évidence des fonctionnalités avancées de texte : tailles variables, mise en forme numérique et la macro F() pour économiser la RAM.
Référence des fonctions d'affichage utiles
Référence rapide des fonctions OLED SSD1309 les plus couramment utilisées via la bibliothèque DIYables :
- oled.clearDisplay() — effacer le tampon d'image (tous les pixels éteints).
- oled.display() — transférer le tampon vers l'OLED pour rendre les modifications visibles.
- oled.drawPixel(x, y, color) — définir ou effacer un seul pixel.
- oled.setTextSize(n) — agrandir la police par le facteur *n* (1 = 6×8, 2 = 12×16, …, jusqu’à 8).
- oled.setCursor(x, y) — positionner le curseur de texte aux coordonnées en pixels *(x, y)*.
- oled.setTextColor(SSD1309_PIXEL_ON) — couleur du texte uniquement (fond transparent).
- oled.setTextColor(SSD1309_PIXEL_OFF, SSD1309_PIXEL_ON) — texte avec couleur d'arrière-plan explicite.
- oled.println("message") — affiche une chaîne et passe à la ligne suivante.
- oled.println(number) — affiche un entier au format décimal.
- oled.println(number, HEX) — affiche un entier au format hexadécimal.
- oled.startscrollright(start, stop) — défilement matériel vers la droite entre les pages *start* et *stop*.
- oled.startscrollleft(start, stop) — défilement matériel vers la gauche.
- oled.startscrolldiagright(start, stop) — défilement matériel en diagonale vers la droite entre les pages *start* et *stop*.
- oled.startscrolldiagleft(start, stop) — défilement matériel en diagonale vers la gauche entre les pages *start* et *stop*.
- oled.stopscroll() — arrête tout défilement matériel actif.
- oled.setContrast(value) — règle la luminosité de l'affichage (0–255).
- oled.dim(true/false) — assombrir rapidement l'affichage au minimum ou restaurer le contraste précédent.
- oled.invertDisplay(true/false) — inversion des couleurs au niveau matériel (pixels allumés ↔ éteints).
Comment centrer verticalement et horizontalement le texte sur l'écran OLED SSD1309.
Voir Comment centrer verticalement et horizontalement le texte et les chiffres sur OLED
Code Arduino Uno R4 — Dessiner des formes sur l'OLED SSD1309
La bibliothèque DIYables_OLED_SSD1309 hérite de Adafruit_GFX, offrant des capacités complètes de dessin de formes : pixels, lignes, rectangles, rectangles remplis, cercles, cercles remplis, triangles, triangles remplis et rectangles arrondis. Le croquis suivant illustre toutes ces formes avec des séquences animées.
Code Arduino Uno R4 — Défilement matériel sur l'écran OLED SSD1309
Le SSD1309 comprend un moteur de défilement matériel qui déplace le contenu affiché sans intervention du processeur. La bibliothèque DIYables expose quatre modes de défilement : vers la droite, vers la gauche, en diagonale vers la droite et en diagonale vers la gauche. Chacun accepte un paramètre de page de départ et un paramètre de page de fin (les pages sont des bandes horizontales de 8 pixels de hauteur numérotées de 0 à 7 sur un écran de 64 pixels de hauteur).
※ Note:
Appelez toujours display() pour transférer votre contenu sur l’OLED avant de commencer un défilement. Évitez d'afficher de nouveau contenu pendant que le défilement est actif — appelez d’abord stopscroll().
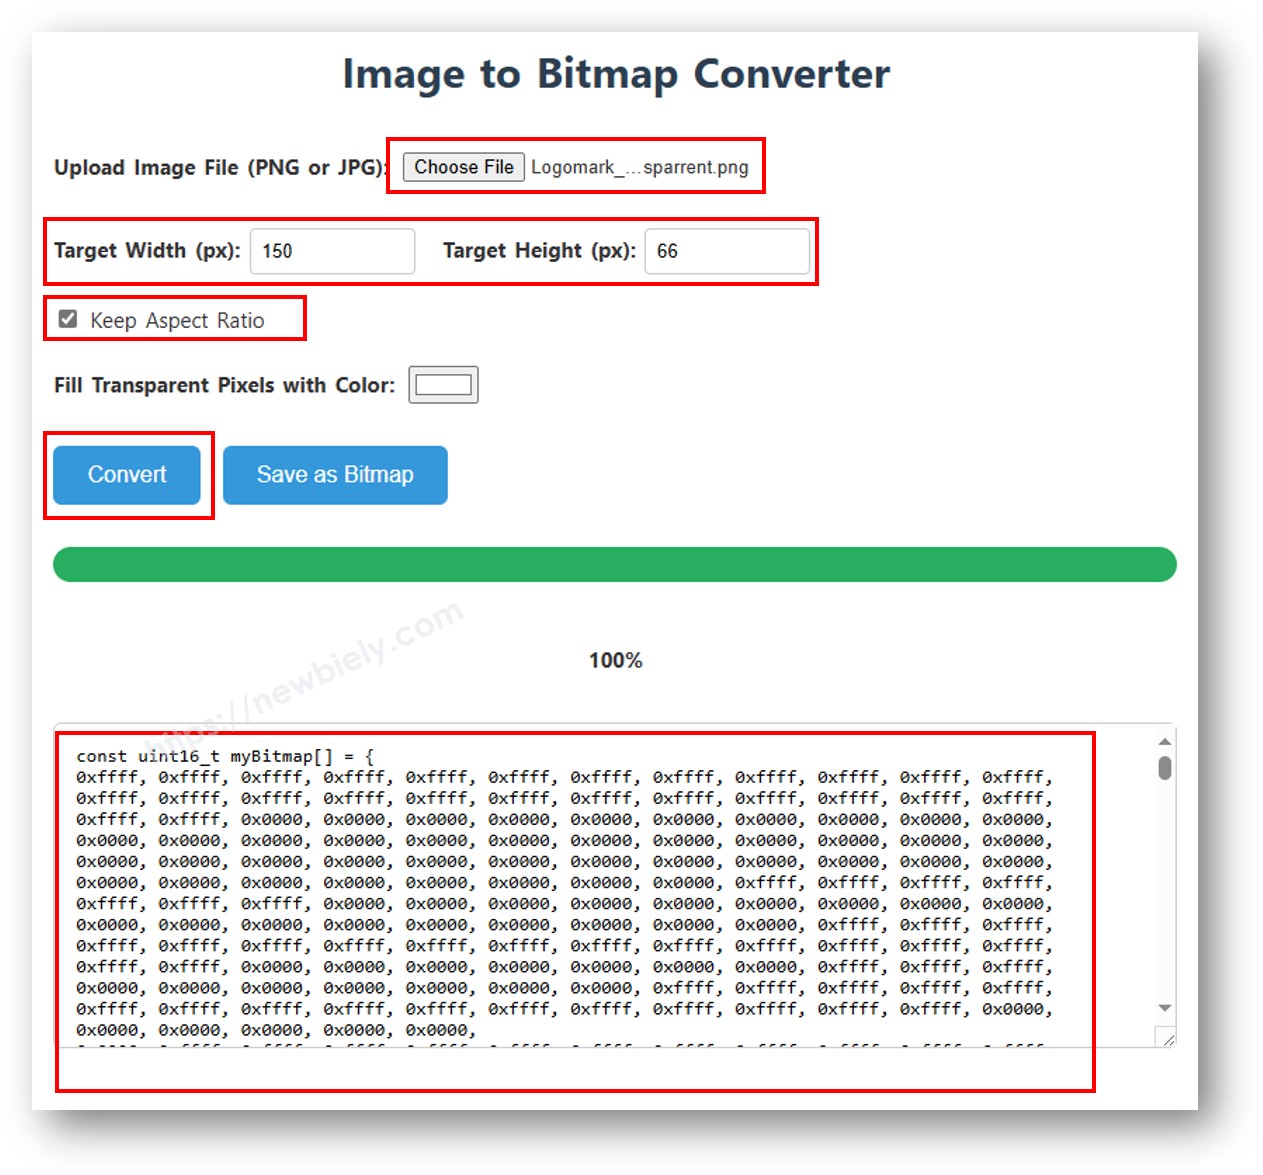
Code Arduino Uno R4 — Afficher une image bitmap sur l'OLED SSD1309
Pour afficher une image bitmap sur l'OLED SSD1309, vous devez d'abord convertir votre image en un tableau d'octets en C. Utilisez l'outil en ligne gratuit image2cpp en ligne pour cette conversion :
- Téléchargez votre fichier image (PNG, JPG, BMP, etc.).
- Configurez la taille de la toile à 128 × 64 (ou plus petite).
- Sélectionnez le Code Arduino comme format de sortie.
- Copiez le tableau généré dans votre sketch.
L'exemple ci-dessous alterne entre une icône en forme de cœur de 16 × 16 et un logo DIYables en pleine largeur.
※ Note:
- Les dimensions de l'image bitmap ne doivent pas dépasser la résolution de l'écran (128×64 pour le module de 2,42 pouces).
Code pour Arduino Uno R4 — Contraste et diminution de la luminosité sur l'écran OLED SSD1309
Le SSD1309 offre 256 niveaux de contraste (0–255). La bibliothèque DIYables fournit setContrast() pour un contrôle précis et dim() pour basculer rapidement entre la luminosité minimale et le niveau défini précédemment.
Code Arduino Uno R4 — Polices externes personnalisées sur OLED SSD1309
La bibliothèque Adafruit GFX comprend des dizaines de polices FreeFont évolutives (Serif, Sans, Mono — chacune en Regular, Bold, Italic et plusieurs tailles). Vous pouvez utiliser l'une d'entre elles sur l'écran SSD1309 en incluant l'en-tête correspondant et en appelant setFont().
※ Note:
- Lorsqu'une police externe est active, la coordonnée Y du curseur se réfère à la ligne de base du texte, et non au coin supérieur gauche. Cela diffère du comportement de la police intégrée 5×7.
- Les polices externes sont stockées dans la mémoire flash (PROGMEM). Sur des cartes à mémoire limitée comme l'Uno classique (32 Ko de flash), utilisez-les avec parcimonie. L'Arduino Uno R4 dispose de plus de mémoire, ce qui offre plus de flexibilité.
Dépannage OLED SSD1309 avec Arduino Uno R4
Si l'écran OLED SSD1309 de 2,42 pouces reste vierge après avoir téléversé votre croquis, suivez ces étapes de diagnostic :
- Vérifier les connexions — confirmez que SDA, SCL, VCC et GND sont câblés sur les broches correctes de l'Arduino Uno R4.
- Confirmer la puce pilote — cette bibliothèque est conçue pour le SSD1309. Si votre module utilise un contrôleur différent (par exemple SH1106), il ne répondra pas correctement.
- Vérifier l'adresse I2C — la plupart des modules SSD1309 utilisent par défaut l'adresse 0x3C, mais certains utilisent 0x3D. Exécutez le croquis de scanner I2C ci-dessous pour détecter l'adresse réelle:
Sortie attendue du moniteur série lorsque le SSD1309 est détecté :
- Assurez-vous que display() est appelé — le SSD1309 utilise une mémoire tampon d'écran. Les fonctions de dessin ne modifient que le tampon dans la RAM; rien n'apparaît à l'écran tant que vous n'appelez pas oled.display().
- Vérifiez l'alimentation — le module de 2,42 pouces consomme plus de courant que les petits OLEDs. Assurez-vous que votre source d'alimentation peut fournir un courant suffisant (généralement 20 à 40 mA à pleine luminosité).