Arduino Nano ESP32 - LED - Clignotement sans délai

L'un des premiers programmes que les débutants exécutent consiste à faire clignoter une LED. La manière la plus simple de faire clignoter une LED est d'utiliser la fonction delay(). Cette fonction empêche l'Arduino Nano ESP32 de réaliser d'autres actions. Cela suffira si vous souhaitez juste faire clignoter une seule LED. Cependant, si vous voulez faire clignoter plusieurs LED ou effectuer d'autres tâches en parallèle, vous ne pouvez pas utiliser la fonction delay(). Nous avons besoin d'une autre solution. Ce tutoriel fournit des instructions sur comment réaliser plusieurs tâches sans utiliser la fonction delay. Plus spécifiquement, nous apprendrons comment faire clignoter une LED et vérifier l'état d'un bouton.

Nous examinerons trois exemples ci-dessous et comparerons les différences entre eux.

Cette méthode peut être appliquée pour permettre à l'Arduino Nano ESP32 d'effectuer plusieurs tâches en même temps. Le clignotement d'une LED n'est qu'un exemple.

Préparation du matériel

1×Arduino Nano ESP32
1×USB Cable Type-C
1×LED
1×220 ohm resistor
1×Push Button
1×(Optional) Panel-mount Push Button
1×Breadboard
1×Jumper Wires
1×(Optional) DC Power Jack
1×(Recommended) Screw Terminal Adapter for Arduino Nano

Or you can buy the following sensor kits:

1×DIYables Sensor Kit (30 sensors/displays)
1×DIYables Sensor Kit (18 sensors/displays)
Divulgation : Certains des liens fournis dans cette section sont des liens affiliés Amazon. Nous pouvons recevoir une commission pour tout achat effectué via ces liens, sans coût supplémentaire pour vous. Nous vous remercions de votre soutien.

À propos des LED et des boutons

Nous avons des tutoriels spécifiques sur les LED et les boutons. Chaque tutoriel contient des informations détaillées et des instructions étape par étape sur le brochage du matériel, le principe de fonctionnement, les connexions de câblage à l'ESP32, le code Arduino Nano ESP32... Pour en savoir plus, consultez les liens suivants :

Diagramme de câblage
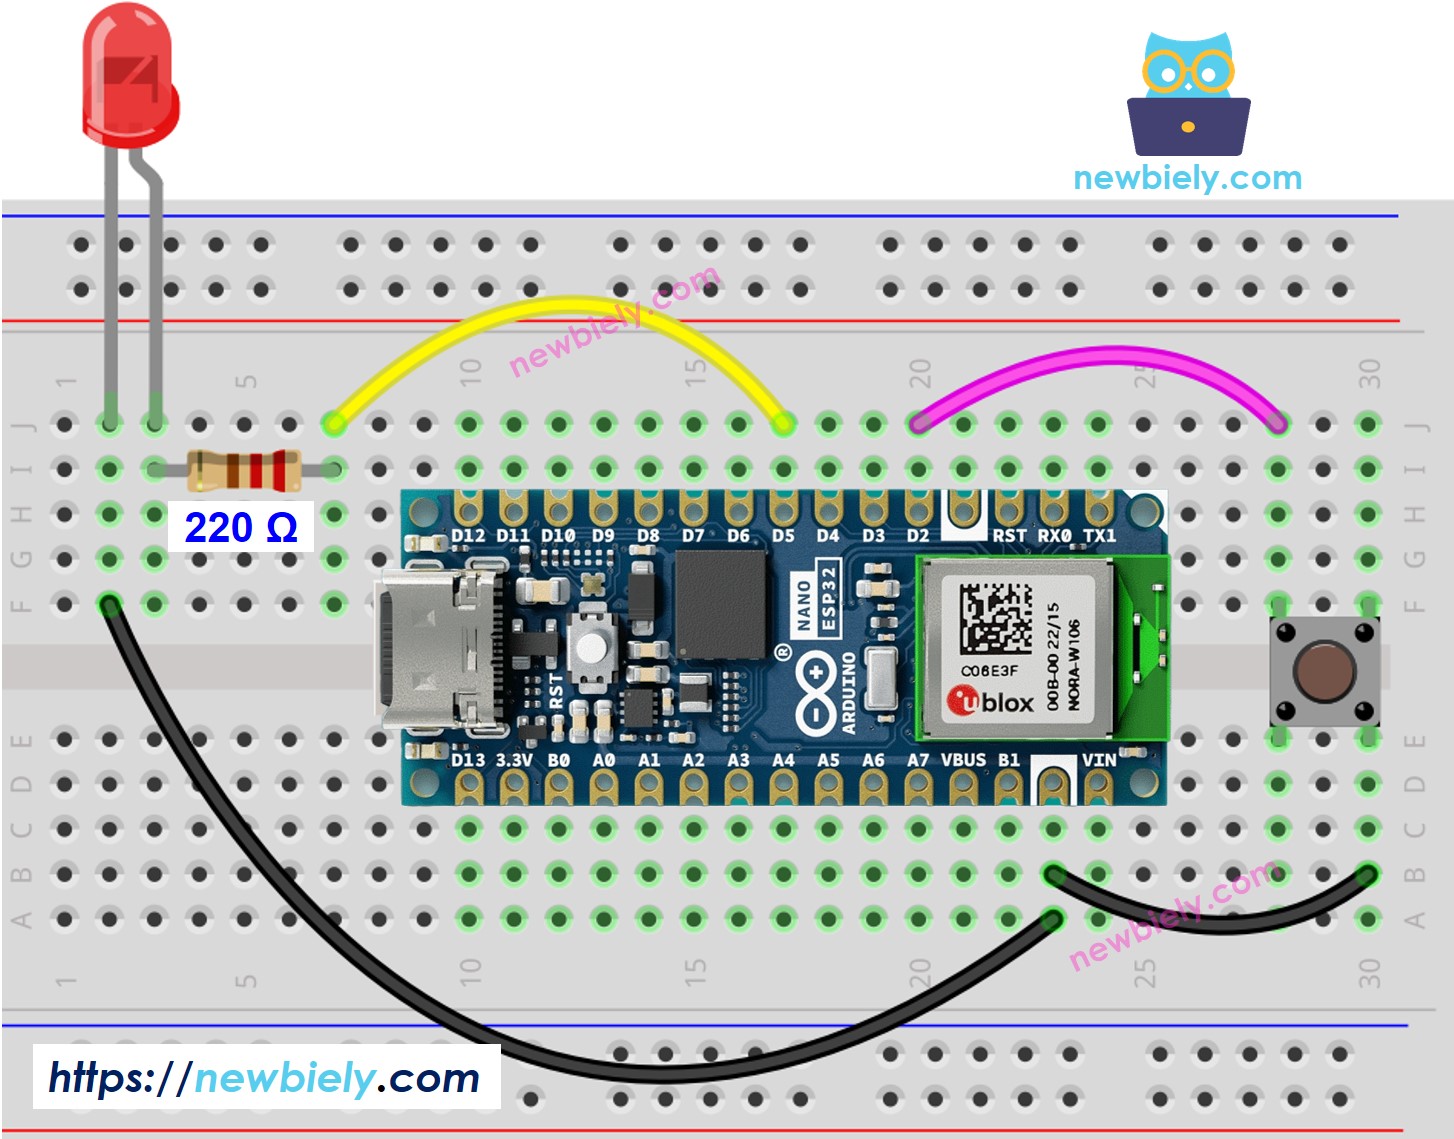
Schéma de câblage Arduino Nano ESP32 avec bouton LED

This image is created using Fritzing. Click to enlarge image

Comparons le code Arduino Nano ESP32 qui fait clignoter une LED avec et sans utiliser la fonction delay().

Code Arduino Nano ESP32 - Avec Délai

/* * Ce code Arduino Nano ESP32 a été développé par newbiely.fr * Ce code Arduino Nano ESP32 est mis à disposition du public sans aucune restriction. * Pour des instructions complètes et des schémas de câblage, veuillez visiter: * https://newbiely.fr/tutorials/arduino-nano-esp32/arduino-nano-esp32-led-blink-without-delay */ #define LED_PIN D5 // The Arduino Nano ESP32 pin D5 connected to LED #define BUTTON_PIN D2 // The Arduino Nano ESP32 pin D2 connected to button #define BLINK_INTERVAL 1000 // interval at which to blink LED (milliseconds) int led_state = LOW; // led_state used to set the LED int prev_button_state = LOW; // will store last time button was updated void setup() { Serial.begin(9600); // set the digital pin as output: pinMode(LED_PIN, OUTPUT); // set the digital pin as an input: pinMode(BUTTON_PIN, INPUT_PULLUP); } void loop() { // if the LED is off turn it on and vice-versa: led_state = (led_state == LOW) ? HIGH : LOW; // set the LED with the led_state of the variable: digitalWrite(LED_PIN, led_state); delay(BLINK_INTERVAL); // If button is pressed during this time, Arduino CANNOT detect int button_state = digitalRead(BUTTON_PIN); if (button_state != prev_button_state) { // print out the state of the button: Serial.println(button_state); // save the last state of button prev_button_state = button_state; } // DO OTHER WORKS HERE }

Étapes rapides

Pour commencer avec l'Arduino Nano ESP32, suivez ces étapes :

  • Si vous êtes nouveau avec Arduino Nano ESP32, consultez le tutoriel sur comment configurer l'environnement pour Arduino Nano ESP32 dans l'Arduino IDE.
  • Câblez les composants selon le schéma fourni.
  • Connectez la carte Arduino Nano ESP32 à votre ordinateur à l'aide d'un câble USB.
  • Lancez l'Arduino IDE sur votre ordinateur.
  • Sélectionnez la carte Arduino Nano ESP32 et son port COM correspondant.
  • Copiez le code ci-dessus et collez-le dans l'Arduino IDE.
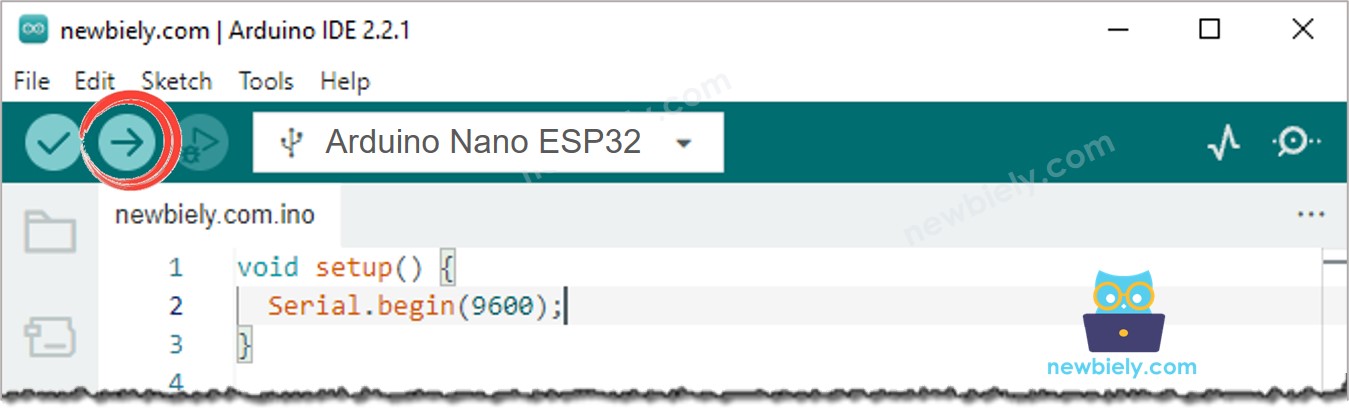
  • Compilez et téléchargez le code sur la carte Arduino Nano ESP32 en cliquant sur le bouton Upload de l'Arduino IDE.
Comment télécharger le code Arduino Nano ESP32 sur Arduino IDE
  • Ouvrez le moniteur série dans l'IDE Arduino
Comment ouvrir le moniteur série sur Arduino IDE
  • Appuyez sur le bouton 4 fois
  • Observez la LED : La LED bascule entre ON/OFF périodiquement toutes les secondes
  • Consultez la sortie dans le moniteur série
COM6
Send
1 0
Autoscroll Show timestamp
Clear output
9600 baud  
Newline  
  • Sur le moniteur série, vous ne verrez pas quatre fois que l'état passe à 0 (4 pressions). Cela est dû au fait que, pendant le temps de retard, l'Arduino Nano ESP32 NE PEUT PAS détecter le changement.

Code Arduino Nano ESP32 - Sans Délai

/* * Ce code Arduino Nano ESP32 a été développé par newbiely.fr * Ce code Arduino Nano ESP32 est mis à disposition du public sans aucune restriction. * Pour des instructions complètes et des schémas de câblage, veuillez visiter: * https://newbiely.fr/tutorials/arduino-nano-esp32/arduino-nano-esp32-led-blink-without-delay */ #define LED_PIN D5 // The Arduino Nano ESP32 pin D5 connected to LED #define BUTTON_PIN D2 // The Arduino Nano ESP32 pin D2 connected to button #define BLINK_INTERVAL 1000 // interval at which to blink LED (milliseconds) int led_state = LOW; // led_state used to set the LED int prev_button_state = LOW; // will store last time button was updated unsigned long prev_millis = 0; // will store last time LED was updated void setup() { Serial.begin(9600); // set the digital pin as output: pinMode(LED_PIN, OUTPUT); // set the digital pin as an input: pinMode(BUTTON_PIN, INPUT_PULLUP); } void loop() { // check to see if it's time to blink the LED; that is, if the difference // between the current time and last time you blinked the LED is bigger than // The interval at which you want to blink the LED. unsigned long current_millis = millis(); if (current_millis - prev_millis >= BLINK_INTERVAL) { // if the LED is off turn it on and vice-versa: led_state = (led_state == LOW) ? HIGH : LOW; // set the LED with the led_state of the variable: digitalWrite(LED_PIN, led_state); // save the last time you blinked the LED prev_millis = current_millis; } // check button state's change int button_state = digitalRead(BUTTON_PIN); if (button_state != prev_button_state) { // print out the state of the button: Serial.println(button_state); // save the last state of button prev_button_state = button_state; } // DO OTHER WORKS HERE }

Étapes rapides

COM6
Send
1 0 1 0 1 0 1 0
Autoscroll Show timestamp
Clear output
9600 baud  
Newline  
  • Tous les événements urgents ont été détectés.

Explication du code ligne par ligne

Le code Arduino Nano ESP32 ci-dessus contient des explications ligne par ligne. Veuillez lire les commentaires dans le code !

Ajout de plus de tâches

Le code ci-dessous fait clignoter deux LED à des intervalles différents et vérifie l'état du bouton.

/* * Ce code Arduino Nano ESP32 a été développé par newbiely.fr * Ce code Arduino Nano ESP32 est mis à disposition du public sans aucune restriction. * Pour des instructions complètes et des schémas de câblage, veuillez visiter: * https://newbiely.fr/tutorials/arduino-nano-esp32/arduino-nano-esp32-led-blink-without-delay */ #define LED_PIN_1 D6 // The Arduino Nano ESP32 pin D6 connected to LED 1 #define LED_PIN_2 D5 // The Arduino Nano ESP32 pin D5 connected to LED 2 #define BUTTON_PIN D2 // The Arduino Nano ESP32 pin D2 connected to button #define BLINK_INTERVAL_1 1000 // interval at which to blink LED 1 (milliseconds) #define BLINK_INTERVAL_2 500 // interval at which to blink LED 2 (milliseconds) int led_state_1 = LOW; // led_state used to set the LED 1 int led_state_2 = LOW; // led_state used to set the LED 2 int prev_button_state = LOW; // will store last time button was updated unsigned long prev_millis_1 = 0; // will store last time LED 1 was updated unsigned long prev_millis_2 = 0; // will store last time LED 2 was updated void setup() { Serial.begin(9600); // set the digital pin as output: pinMode(LED_PIN_1, OUTPUT); pinMode(LED_PIN_2, OUTPUT); // set the digital pin as an input: pinMode(BUTTON_PIN, INPUT_PULLUP); } void loop() { unsigned long current_millis = millis(); // check to see if it's time to blink the LED 1 if (current_millis - prev_millis_1 >= BLINK_INTERVAL_1) { // if the LED is off turn it on and vice-versa: led_state_1 = (led_state_1 == LOW) ? HIGH : LOW; // set the LED with the led_state of the variable: digitalWrite(LED_PIN_1, led_state_1); // save the last time you blinked the LED prev_millis_1 = current_millis; } // check to see if it's time to blink the LED 2 if (current_millis - prev_millis_2 >= BLINK_INTERVAL_2) { // if the LED is off turn it on and vice-versa: led_state_2 = (led_state_2 == LOW) ? HIGH : LOW; // set the LED with the led_state of the variable: digitalWrite(LED_PIN_2, led_state_2); // save the last time you blinked the LED prev_millis_2 = current_millis; } // check button state's change int button_state = digitalRead(BUTTON_PIN); if (button_state != prev_button_state) { // print out the state of the button: Serial.println(button_state); // save the last state of button prev_button_state = button_state; } // DO OTHER WORKS HERE }

Vidéo

Références linguistiques

※ OUR MESSAGES

  • Please feel free to share the link of this tutorial. However, Please do not use our content on any other websites. We invested a lot of effort and time to create the content, please respect our work!